When a dog backs out of a flat collar at the curb, the immediate problem is not pulling—it is keeping control long enough to prevent a lost-dog search. The best head halters for dogs who slip collars are the ones you can fit securely, introduce slowly, and connect to a backup collar or harness every time.
Behavior work for dogs that lunge, panic, bite, or have neck, airway, eye, or neurologic concerns should be planned with a veterinarian or qualified force-free trainer, and leash handling should comply with local leash laws and public-safety requirements.
The short answer
A head halter can be useful for a dog who slips a regular collar because it gives you control of the dog’s head instead of relying only on the neck. But it should not be treated as escape-proof gear. For dogs with narrow heads, loose skin, sudden startle reactions, or a habit of reversing out of equipment, the safer setup is usually a head halter plus a separate backup connection to a well-fitted harness or no-slip collar.
If your dog has already escaped once, do not use a head halter by itself for the first neighborhood test. Start inside, add short yard sessions, then move to quiet streets before trying busy sidewalks, trailheads, school pickup zones, or anywhere your dog might hit the end of the leash suddenly.
Three head halters worth knowing
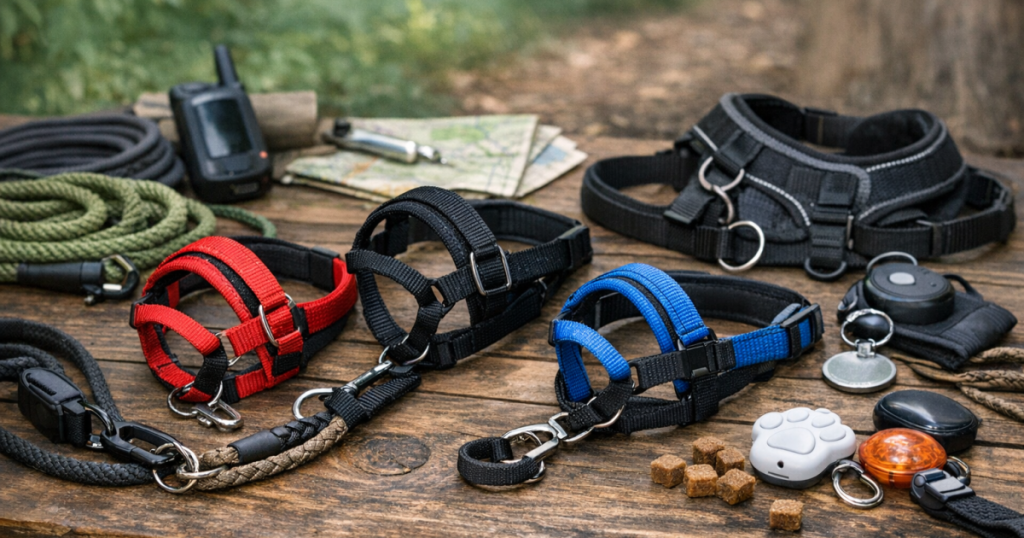
These are not magic fixes, and fit matters more than brand loyalty. Still, the following designs are recognizable starting points for owners trying to reduce pulling while keeping better control of a dog who has learned the reverse-and-slip move.
PetSafe Gentle Leader Headcollar
The PetSafe Gentle Leader Headcollar is one of the most familiar head halter designs for leash training. It uses a nose loop and neck strap to help redirect the dog’s head, which can make sudden forward surges easier to interrupt than with a flat collar alone.
Its best use is calm, supervised walking practice with a dog who accepts handling around the muzzle. It is not a tie-out, correction tool, or substitute for a backup attachment. If your dog paws at the nose loop, freezes, or tries to roll out of it, slow the introduction down before you depend on it outdoors.
Company of Animals Halti Headcollar
The Company of Animals Halti Headcollar is another widely recognized head halter style. It is often chosen for dogs who pull hard enough that a regular collar gives the handler very little steering control.
For collar-slipping dogs, the important point is not just the head halter itself but the safety connection. If your setup includes a collar link, use it correctly. If it does not, add a separate backup leash point so one equipment failure does not become an open-road problem.
Canny Collar
The Canny Collar takes a different approach from the common under-chin steering style, with leash control routed from behind the head. Some handlers prefer that feel because it can reduce the twisting motion that worries them with more traditional head halters.
It still needs careful introduction. A dog who dislikes pressure on the nose may resist any head-worn tool at first, no matter how thoughtful the design is. Use short, reward-heavy sessions and remove the halter before your dog becomes frustrated.
Why head halters help some escape artists
Dogs often slip flat collars by lowering their head, planting their feet, and backing up. Once the collar angle changes, a loose or poorly shaped collar can slide over the ears. This is especially common with sighthounds, mixed breeds with narrow skulls, recently adopted dogs who panic on leash, and small dogs whose collar fit changes under a fluffy coat.
A head halter changes the leverage point. Instead of your dog pulling from the chest or neck, gentle leash tension redirects the head. That can interrupt the body mechanics behind a backward escape. It can also buy you a few seconds—the difference between calmly shortening the leash and watching your dog bolt across a parking lot.
The trade-off is sensitivity. A head halter sits on a part of the body many dogs find personal. If introduced too quickly, it can create rubbing, pawing, shutdown, or frantic twisting. The goal is not to overpower the dog. The goal is repeatable, low-drama handling.
Build the safer walking setup
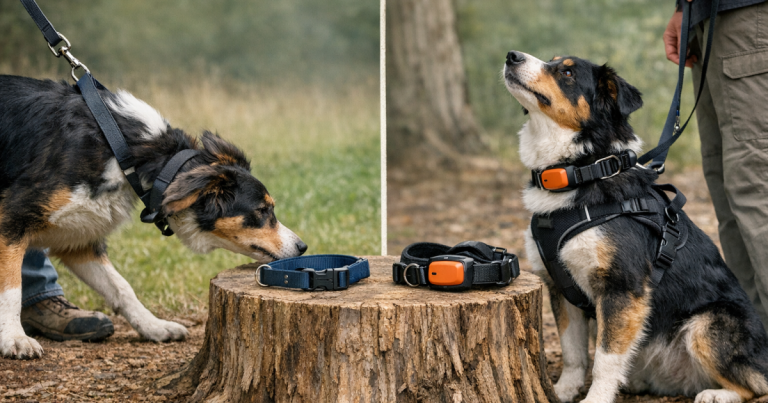
For an escape-prone dog, think in layers. The head halter is the steering layer. A harness or properly fitted no-slip collar is the backup layer. Your leash handling is the behavior layer. Identification and tracking are the recovery layer if everything still goes wrong.
If your dog’s regular collar has already failed, reassess that gear before adding anything else. A properly adjusted martingale-style collar or other escape-resistant option may be a better anchor point than a flat buckle collar; our guide to no-slip collars for narrow-headed dogs explains where that style can help and where fit still matters.
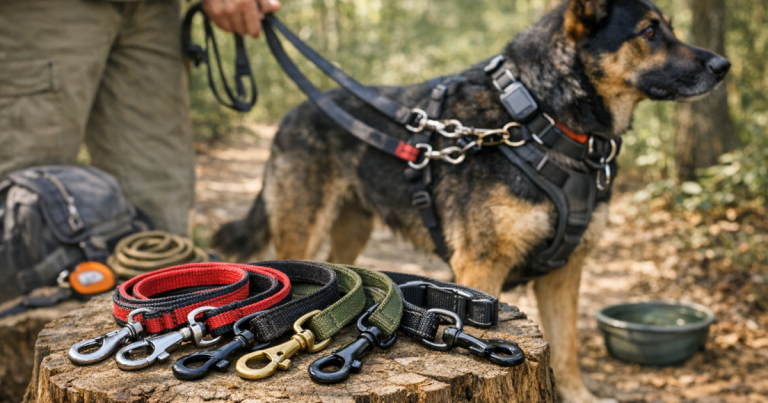
A double-ended leash is often the missing piece. One clip can attach to the head halter for steering, while the other attaches to a harness or no-slip collar for backup. That way, if the head halter shifts, opens, or is slipped, you still have a second connection. For dogs that have a history of backing out, see the separate guide to double-ended training leads for dogs who slip collars.
Fit checks before the first real walk
Do these checks before you leave the driveway. They are simple, but they prevent most of the messy first-walk moments where the dog is confused and the owner is juggling straps.
- Check breathing and mouth movement. Your dog should be able to pant, drink, and take treats. A head halter should not clamp the mouth shut.
- Check eye clearance. Straps should not ride into the eyes when the leash moves.
- Check nose comfort. The nose loop should sit where the design intends, not rub raw skin or slide off the muzzle.
- Check the backup point. Attach a second leash clip to a harness or secure collar before relying on the head halter outside.
- Check panic behavior. If your dog paws violently, rolls, or thrashes, stop the session and return to reward-based conditioning indoors.
Do not test a new head halter beside traffic, at a dog park entrance, or on a flexi-style retractable leash. A sudden sprint into the end of the line can put too much force through the head and neck. Use a standard leash, keep slack in the line, and reward your dog for walking near you before you need to steer.
A step-by-step introduction that reduces resistance
Step 1: Let the halter predict food, not restraint
Hold the halter in one hand and feed a few treats with the other. Do not put it on yet. Let your dog sniff it, look at it, and move away. Repeat until the halter is boring.
Step 2: Reward voluntary nose placement
Present the nose loop and feed through it so your dog chooses to place their muzzle forward. Remove the loop after a second or two. Several short repetitions are better than one long wrestling match.
Step 3: Fasten, feed, remove
Once your dog is comfortable, fasten the halter briefly, feed a few treats, then remove it. Keep the first sessions short enough that your dog does not have time to practice pawing it off.
Step 4: Add leash movement indoors
Clip the leash on and walk a few steps inside. Reward soft turns and attention. Avoid jerks. Head halters work best with smooth guidance, not corrections.
Step 5: Move to quiet outdoor practice
Use the backup attachment from the first outdoor session. Practice in a driveway, fenced yard, or quiet sidewalk before walking past dogs, delivery trucks, children, wildlife, or anything else that makes your dog hit full drama mode.
When a head halter is the wrong first tool
Skip the head halter as your first solution if your dog panics when anything touches the face, has a history of neck pain, becomes explosive around triggers, or redirects frustration toward the handler. In those cases, start with professional training support and a secure harness or no-slip collar rather than adding a tool that may escalate the reaction.
For very small dogs, brachycephalic breeds, senior dogs, or dogs with sensitive skin, fit and comfort deserve extra caution. A poorly adjusted head halter on a tiny face can be more trouble than help. A front-clip harness plus a backup collar connection may be calmer while you work on loose-leash skills.
Do not confuse control with recovery
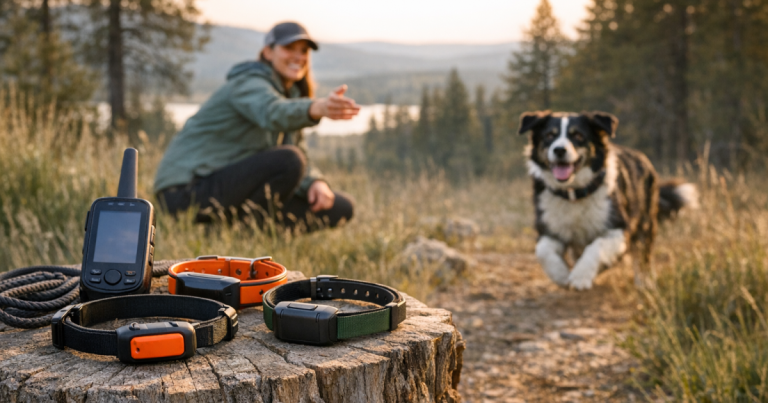
A head halter can reduce the chance of a slip, but it cannot guarantee recovery if your dog gets loose. Keep a visible ID tag on your dog, update microchip records, and consider a tracker if your dog has a real escape history. Devices vary in how they depend on cellular networks, satellite connections, or nearby users, so they should be treated as recovery aids rather than guarantees. For remote trips or dogs with repeated escape scares, the Fi Ultra tracker overview is one place to see how a dedicated tracking device fits into a broader plan.
The big picture
The best setup for a dog who slips regular collars is rarely one item. Use a head halter for steering, a harness or no-slip collar for backup, a double-ended leash for redundancy, and short training sessions to teach the dog that the equipment is safe. That combination is less flashy than a quick fix, but it is far more dependable when a squirrel appears, a truck backfires, or your newly adopted dog suddenly decides the sidewalk is lava.
Choose the head halter your dog can tolerate calmly, fit it with care, and do not walk without a second attachment point until you have proof that the whole setup works under real-world distractions.