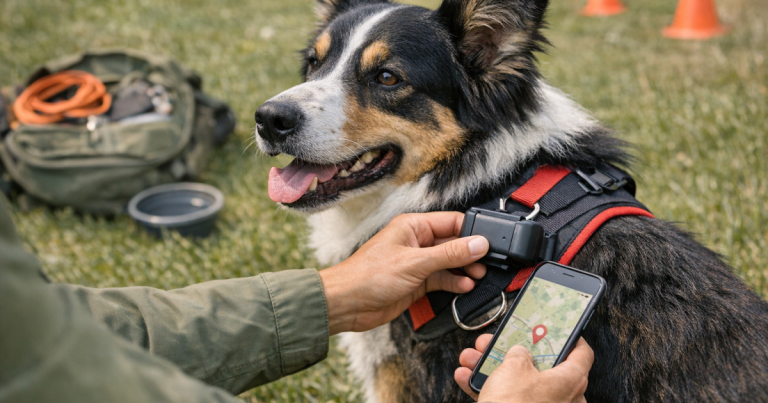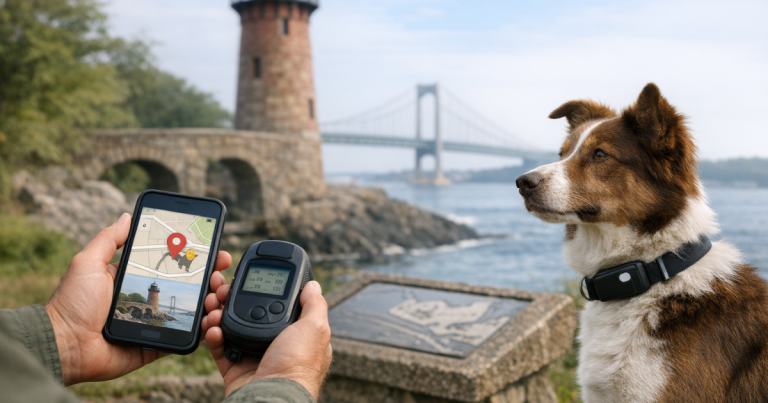
A collar swap seems small until the tracker starts hanging sideways, sliding under your dog’s throat, or missing a location update right when you want reassurance. Treat the change as dog GPS tracker calibration, not just a quick strap swap. A ten-minute check at home and a short test walk can reveal most mounting problems before they become a lost-dog headache.
The aim is not to make any tracker perfect. It is to confirm that the device is secure, positioned sensibly, updating as expected, and comfortable enough that your dog can move normally.
At a glance
- Mount the tracker on the new collar indoors first, then test it outdoors where it can get a clearer location fix.
- Check that the collar fits your dog, not just the tracker. A secure device on a loose collar is still a weak setup.
- Watch for rotation, bouncing, buckle interference, thick coat coverage, and leash pressure.
- Open the tracking app or handheld display and confirm that location updates appear in real time or near real time, depending on the tracker type.
- Take a short known route and compare the recorded path with where you actually walked.
- Recheck the mount after your dog runs, shakes, rolls, scratches, or drinks water.
What changes when you move the tracker to a new collar?
Most pet GPS trackers do not need you to tune the GPS receiver itself after a collar change. The satellites, cellular network, and app account do not know which collar your dog is wearing. What changes is the physical setup: the angle of the device, how tightly the collar holds it, whether the antenna area is covered, and whether the tracker can swing into a poor position.
A new collar may be wider, narrower, stiffer, softer, heavier, or placed differently on the neck. A tracker that sat flat on a nylon collar might twist on a round biothane-style strap. A collar with a large buckle or tag ring can push the device off center. On a thick-coated dog, the old collar may have carved a familiar path through the fur, while the new one sits higher and looser until the coat settles.
The useful version of calibration is therefore physical and behavioral: fit the collar, set the tracker position, create movement, check the location feed, and repeat the test in the situations where your dog is most likely to bolt.
Step 1: Fit the collar before judging the tracker
Start with the dog, not the device. Put the new collar on without the tracker attached and check that it rests in the normal collar position rather than sliding toward the shoulders or up behind the ears. You should be able to fit your fingers under the collar without leaving enough slack for your dog to back out of it.
If your dog has a history of slipping collars, do not treat a tracker mount as the safety system. The collar itself needs to be escape-resistant and correctly adjusted. For dogs that back up, panic, or duck their head on leash, review how to fit a martingale collar for escape-prone dogs before you rely on the tracker setup outside.
Once the collar fit is right, attach the tracker and repeat the same check. The added weight can change how the collar sits. If the collar now tips forward, rotates easily, or hangs lower than before, adjust the collar or choose a more stable mounting point before moving on.
Step 2: Choose the mounting position deliberately
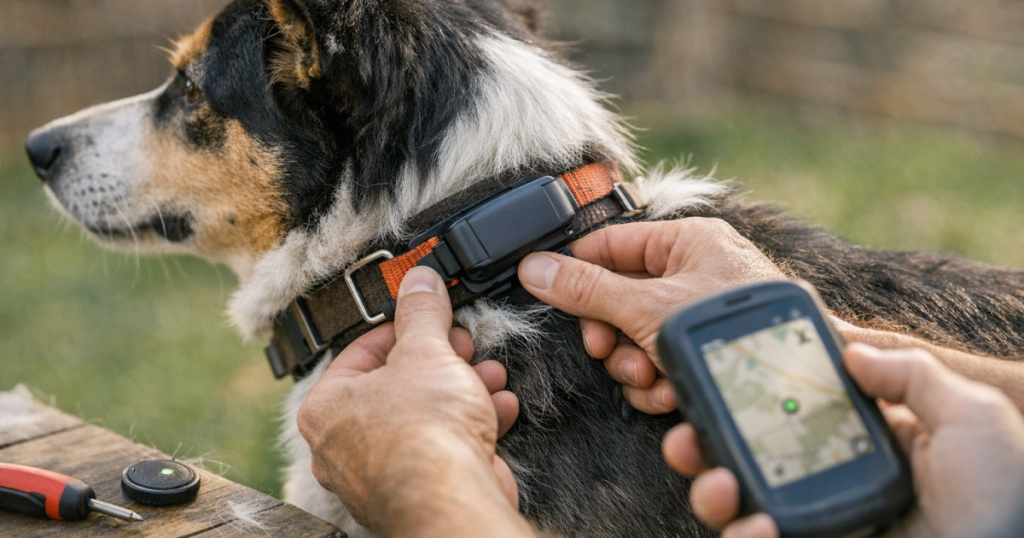
Place the tracker where it is least likely to be blocked, hit, or dragged around the neck. For many dogs, that means on the upper side or side of the collar rather than directly under the throat. Under-throat mounting often looks tidy while the dog is standing still, but it can catch on chest harness straps, water bowls, brush, or the ground when the dog sniffs.
Check these placement details before you open the tracking app:
- The tracker sits flat or predictably angled, not dangling from a single loose point.
- The mount grips the collar width it was designed to hold, without pinching only one edge.
- The buckle, D-ring, ID tags, and leash clip do not press against the tracker.
- The device does not land on the same spot as a harness strap when your dog turns or lowers their head.
- The charging port or cover, if present, is not being pried open by the mount or collar hardware.
For small dogs, bulk is often the problem. For large, powerful dogs, shifting and impact are more common concerns. Either way, the best mount is the one that stays boring: no dramatic swing, no twisting circus act, no sudden migration under the chin.
Step 3: Do a hands-on movement test
Before you leave the house, create the kind of movement your dog makes on a normal day. Do this gently; the point is to test the setup, not stress your dog.
- Run your fingers around the collar and make sure the mount is fully seated.
- Ask your dog to sit, stand, lie down, and turn both directions.
- Let your dog shake off naturally if they want to.
- Clip on the usual leash and see whether leash tension rotates the collar.
- Have your dog lower their head to sniff or drink, then check whether the tracker hits the ground or bowl.
- Look for rubbing at the throat, shoulders, and behind the ears.
If the tracker slides after one shake in the living room, it is not ready for a squirrel sprint, trailhead unloading, or open-gate surprise. Tighten the mount if the design allows it, move it to a flatter section of collar, or switch to a collar style that gives the mount a more stable surface.
Step 4: Confirm the tracker sees the world outside
Take your dog outdoors and give the tracker time to update according to its normal behavior. A GPS device usually performs better with a clearer view of the sky than it does inside a house, garage, or vehicle. Cellular models also depend on network coverage, and Bluetooth-only tags depend on nearby phones or connected devices rather than independent GPS tracking.
Stand in an open spot for a few minutes and check the app or handheld display. You are looking for basic confidence, not survey-grade precision. Confirm that the tracker shows your dog near your actual location, that the device is assigned to the correct pet profile, and that any safe zone or home area still makes sense after the collar switch.
If the location appears stuck at an old address, open the app, check that the tracker is awake or connected according to the manufacturer’s instructions, and confirm that the device has battery power. If updates remain inconsistent, test again in a more open area before assuming the collar mount is the only problem.
Step 5: Walk a route you already know
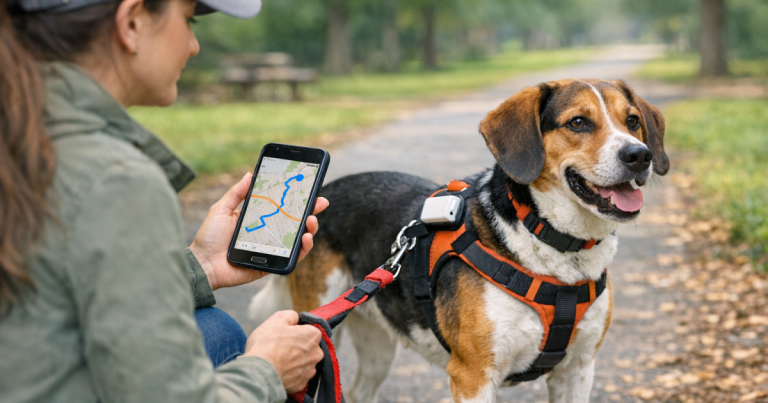
A short neighborhood loop is one of the simplest ways to find mounting issues. Choose a route with a few turns, a stop, and a normal leash pace. If your dog often pulls, sniffs intensely, or zigzags, let some of that normal behavior happen so the test reflects real life.
After the walk, review the location history if your tracker provides it. Do not expect a perfect line down the exact sidewalk. Instead, look for signs that the mount or signal is struggling:
- The track cuts across streets or yards in ways that do not match your route.
- The device stops updating during normal movement.
- The location jumps after your dog shakes or scratches.
- The tracker rotates underneath the collar by the end of the walk.
- The app shows your dog outside the safe zone when you never left it, or inside it when you clearly did.
One odd location point is not always a mounting failure. Buildings, tree cover, terrain, cellular coverage, and device update intervals can all affect what you see. A repeated pattern, especially when paired with a tracker that has physically shifted, is your cue to adjust the mount.
Step 6: Test the setup in your dog’s highest-risk scenario
The right test depends on your dog. A calm senior who strolls the same block needs a different check than a young fence-jumper, a road-trip dog, or a trail dog who disappears into brush the moment the leash comes off.
For backyard escape artists
Let your dog move around the yard while you watch the tracker position. Pay attention near gates, fence corners, shrubs, and play zones where the collar may rub or snag. If your main fear is a gate failure, pair the mounting test with a recovery plan for how to track a dog after a backyard gate escape so you are not making decisions in a panic.
For thick-coated or seasonal shedders
Run your hand under the collar after the dog moves. Coat blowouts can create a false fit: the collar seems snug one week and loose the next as undercoat releases. A tracker can also sink into fur in a way that changes its angle or hides indicator lights. For northern breeds, double-coated dogs, and heavy shedders, use the extra checks in our guide to keeping a GPS collar secure during coat blowouts.
For hiking and travel days
Test the mount with the harness, leash, backpack, crate, or travel collar your dog actually uses. A tracker that works on a quiet street may sit differently under a car harness or bounce more on uneven ground. Before a remote hike, also confirm battery level, coverage expectations, offline map needs if applicable, and backup ID. Convenience is welcome; recovery reliability comes from layers.
Step 7: Recheck after the first real outing
The first meaningful outing after a collar change is the truth test. When you get home, inspect the device before removing the collar. Look for shifted hardware, fur compression, red skin, loosened screws or clips, and dirt patterns that show where the tracker rubbed.
Make one change at a time. If you move the tracker, tighten the collar, and change app settings all at once, you will not know what solved the issue. Adjust the easiest visible problem first, repeat a short walk, then review the result.
Helpful questions
Do I need to reset my dog’s GPS tracker after changing collars?
Usually, no full reset is needed just because you changed collars. Check the manufacturer’s instructions, but most collar changes call for a mounting, fit, battery, and location-update test rather than a factory reset.
Where should the tracker sit on the collar?
It should sit where it stays stable, avoids constant impact, and does not interfere with leash clips, buckles, tags, or harness straps. For many dogs, the side or upper side of the collar is more reliable than the underside of the throat.
How soon should I test after switching collars?
Test the same day, before relying on the tracker for a walk, yard break, trip, or off-leash activity. A quick indoor fit check plus an outdoor route test is enough to catch many problems.
What stands out
After changing collars, the safest routine is simple: fit the collar first, mount the tracker where it stays stable, confirm outdoor location updates, walk a known route, and inspect the setup after real movement. A tracker is only as dependable as the collar, mount, network conditions, and recovery plan around it. Give the new setup one calm test day, and you will know far more before the moment you truly need it.