Before a road trip, campground stay, airport handoff, or long weekend at a relative’s house, take 20 minutes to calibrate dog GPS tracker settings while your dog is still safely at home. The point is not to make any tracker perfect; it is to confirm that the collar fits, the device can find location, the app or handheld receiver is current, and your recovery plan matches the place you are actually visiting.
A GPS tracker is most useful when it has been tested in the same kind of conditions you expect during travel. A suburban backyard, a wooded trailhead, a hotel parking lot, and a rural hunting property can all create different signal, battery, and alert behavior.
What to know first
Calibrating a dog’s GPS tracker usually means checking setup accuracy, not adjusting the GPS satellites themselves. Most consumer dog trackers do not have a manual satellite calibration button. Instead, you are confirming fit, syncing the device, refreshing its location, testing alerts, and updating travel-specific settings such as safe zones or handheld receiver pairing.
For a cellular GPS collar, calibration is mostly about app setup, network access, collar position, and alert testing. For a handheld GPS system, it may also include pairing the dog device, confirming maps, and following any on-screen compass or receiver calibration steps. For Bluetooth tags, there is no true GPS calibration; you are testing proximity and last-seen behavior, which makes them a backup rather than a primary travel recovery tool.
Step 1: Charge, sync, and open the system before packing
Do the first check the night before travel, not in the driveway while everyone is loading the car. Charge the tracker and any handheld receiver, then open the companion app or device menu while you still have reliable Wi-Fi or cellular service.
- Confirm the tracker appears online or connected in the app or receiver.
- Check whether the app shows a recent location rather than an old one from earlier in the day.
- Install available app or device updates only when you have time to retest afterward.
- Make sure the account, dog profile, and contact information are current where your system supports them.
- Turn on the notifications you actually rely on, such as escape alerts, low-battery alerts, or lost-mode alerts if offered.
Do not assume a tracker is ready just because it is charged. A device can have power and still be poorly positioned, out of date, disconnected from its app, or configured for yesterday’s safe zone.
Step 2: Fit the collar like signal quality matters
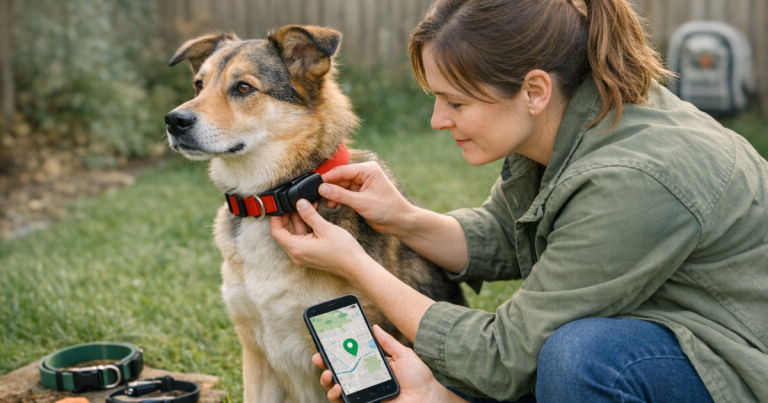
Location accuracy can suffer when a tracker rotates under the dog’s neck, sits under a thick harness, or gets buried in loose fur. The device should sit securely without restricting breathing or normal movement. You should be able to check fit with your fingers and watch how the unit moves when your dog trots, shakes, sniffs, and lies down.
Small dogs need special attention because a bulky tracker can slide to one side or pull the collar out of position. Large, deep-coated dogs may need a collar adjustment so the tracker is not constantly hidden under the chest or mane. If you are unsure where the unit should sit, use this guide to position a dog GPS collar for better signal before you do the field test.
Step 3: Get a fresh outdoor location lock
Take your dog outside with a clear view of the sky and wait for the tracker to update. Avoid doing the first location refresh inside a house, metal-sided building, RV, parking garage, or packed vehicle. Those places can delay or distort the first fix, especially if the tracker has been off, indoors, or far from its last known location.
Once the tracker updates, compare the dot or position marker with where your dog is actually standing. A small amount of drift can happen, especially near buildings, trees, hills, or reflective surfaces. What you are looking for before travel is not survey-level precision; you want the device to show a plausible, current position and continue updating as your dog moves.
Step 4: Walk a short test route
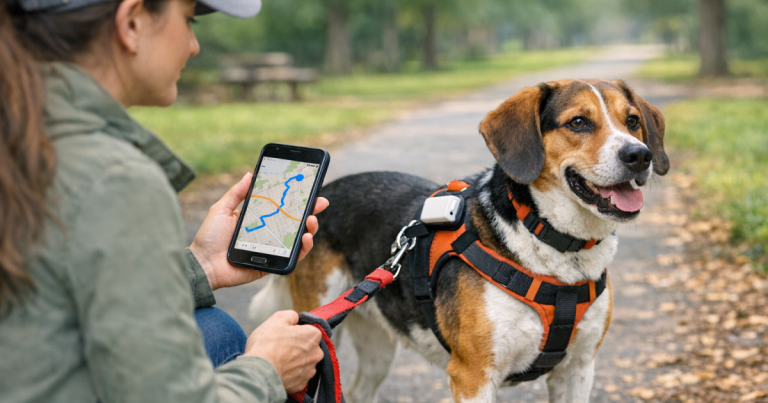
A still-location check is useful, but a moving test tells you more. Clip on a leash and walk a short loop around your block, driveway, or property edge. Keep the app or handheld receiver open and watch how the track behaves.
- Does the location update while your dog is moving?
- Does the track follow the general route, or does it jump across streets or lots?
- Does the collar stay in the same position on your dog’s neck?
- Do notifications arrive quickly enough to be useful for your situation?
- Does the battery indicator look reasonable after the test, without dropping unexpectedly?
If the location dot lags behind, give the device a little time outdoors and repeat the route. If the collar keeps rotating, adjust fit before assuming the tracker itself is the problem.
Step 5: Rebuild safe zones for the destination
One of the easiest travel mistakes is leaving your tracker set up for home. If your system uses safe zones, virtual fences, or alert areas, review them before you leave and again when you arrive.
A safe zone should match the real place your dog will be: the rental yard, campsite, family farm, hotel dog area, or friend’s fenced lot. Do not draw the boundary so tightly that normal GPS drift triggers constant false alerts. At the same time, do not make the zone so broad that you only hear about an escape after your dog has crossed a road or disappeared into woods.
For fence jumpers and door dashers, pair tracker setup with behavior management. A tracker helps you respond after movement happens; it does not teach a dog to pause at an opening or stop testing barriers.
Step 6: Test alerts like a real escape could happen
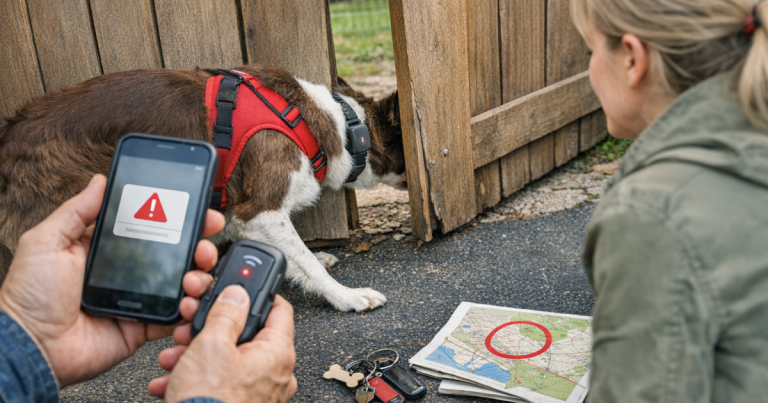
After setting your travel zone, create a controlled test. Keep your dog leashed, walk outside the boundary, and confirm that the alert arrives on the phone or receiver you will actually carry. If multiple people are traveling, decide who gets alerts and who is responsible for responding.
Also check phone settings that can block useful notifications: focus modes, silent mode, low-power settings, disabled location permissions, or background app restrictions. These are not exciting checks, but they prevent the frustrating moment when a tracker worked correctly and the phone simply did not tell you.
Step 7: Prepare for no-service gaps before you need the tracker
Cellular GPS trackers depend on network coverage to send location updates to your phone. They may still obtain GPS location, but if they cannot communicate that location through the network, you may not see timely updates. This matters on mountain roads, deep forest trails, rural properties, desert routes, and some lakeside or canyon areas.
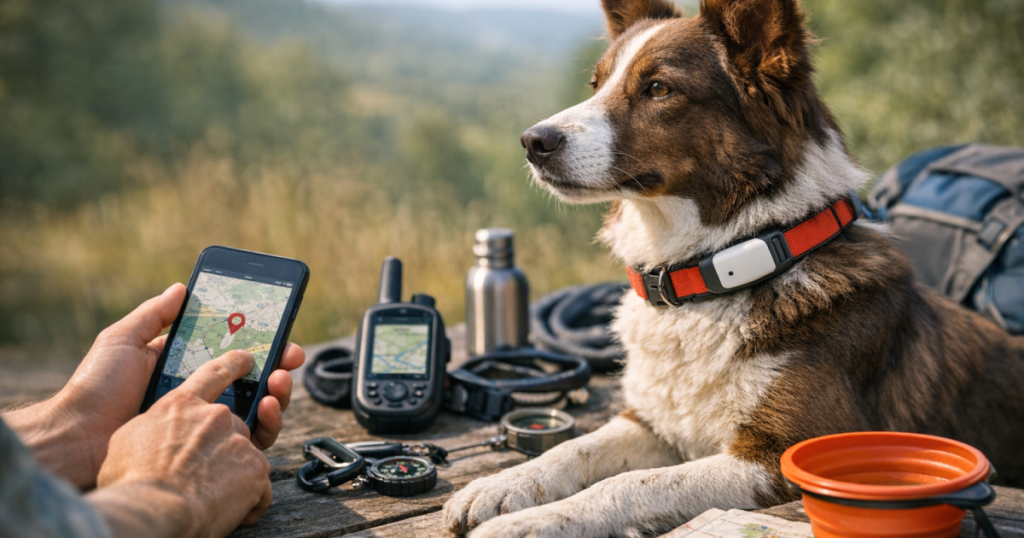
Before hiking or camping, review coverage expectations for the place you are going and decide what your backup plan is. Some owners use a handheld GPS system for remote work because it does not rely on the same cellular path as an app-based collar. If your trip includes weak-service terrain, use this no-service preparation guide before you leave: prepare your dog tracker for no-service hikes.
Step 8: Know the difference between tracker types
Cellular GPS collars
For app-based collars, focus on fresh location, app permissions, safe zones, notification delivery, battery status, and destination coverage. Reviews such as the Fi Series 3+ and similar smart-collar coverage are useful when you want to understand everyday trade-offs, but your own test walk still matters because your dog, phone, terrain, and travel routine are the variables that count on the day.
Handheld GPS systems
For receiver-based systems, confirm that the collar device and handheld are paired, charged, and showing the dog’s position before you leave home. Some handheld units include menu-guided calibration steps for the receiver or compass; follow the manufacturer’s on-screen instructions rather than guessing. If you use hunting-style equipment, the Garmin Alpha 100 Bundle page is a useful reference point for understanding that style of setup.
Bluetooth tags
Bluetooth tags can help identify a last-seen area or alert nearby phones in a compatible network, but they are not live GPS dog trackers. Before travel, test whether the tag is securely attached, named correctly in the app, and detectable at short range. Treat it as an ID backup, not as the tool you would rely on to follow a fast-moving dog across unfamiliar ground.
Step 9: Run the arrival check
When you reach the destination, repeat a shorter version of the same process before unclipping the leash or opening the yard gate. Stand outside, refresh location, check the collar position, confirm the correct safe zone, and make sure alerts are still active on the right phone.
This is especially important after long drives. Trackers may need time to refresh after moving hundreds of miles, and phones can switch towers, roaming states, time zones, Wi-Fi networks, or battery modes. A two-minute arrival check is much easier than troubleshooting during a real escape.
Key checks before your dog is off leash
- The tracker and any receiver are charged and powered on.
- The app or receiver shows a current outdoor location.
- The collar is snug, comfortable, and not rotating under the neck.
- Safe zones are set for the destination, not only for home.
- Notifications are allowed and tested on the phone you will carry.
- Coverage limits are understood for rural, wooded, or remote areas.
- Your dog also has visible ID, such as an engraved tag, in case a person finds them first.
Helpful questions
Do GPS dog trackers need true calibration?
Most app-based dog trackers do not need manual GPS satellite calibration. They need setup verification: fit, fresh location, app permissions, safe zones, alerts, battery, and a short outdoor movement test.
Why does my dog’s tracker show the wrong side of the road?
GPS drift can happen near buildings, trees, hills, vehicles, and poor signal conditions. If the marker is only slightly off but updates as your dog moves, the tracker may be behaving normally. If it is far away or stale, restart, refresh outdoors, and retest.
Should I reset the tracker before travel?
Usually, no. Start with charging, syncing, updating, and testing. A factory reset can remove settings or pairing, so only use it when the manufacturer’s support instructions call for it.
How early should I test the tracker before a trip?
Test it the day before travel, then run a quick arrival check at the destination. That gives you time to fix notification, fit, charging, or safe-zone issues before your dog is in an unfamiliar place.
Can a calibrated tracker guarantee recovery?
No tracker can guarantee recovery. Calibration and testing improve your odds of getting useful location information, but ID tags, leash habits, gate routines, visibility gear, and a calm search plan still matter.
Final thoughts
Travel adds unfamiliar smells, open doors, new fences, distracted humans, and coverage surprises. A GPS tracker can be a powerful part of your recovery plan, but only if it is fitted, refreshed, tested, and set for the trip in front of you.
The calmest routine is simple: charge it, sync it, fit it, step outside, walk a test route, check alerts, and rebuild destination zones. Do that before the suitcase is in the car, and you give yourself a clearer, faster starting point if your dog ever slips away from where they are supposed to be.