A calm hallway check for dog harness escape gaps can prevent the kind of slip-out that happens in seconds: a squirrel bolts, a truck hisses at the curb, or your dog plants their paws and backs away from the leash. The goal is not to make the harness tight everywhere; it is to remove the openings your dog can use while still leaving room to breathe, walk, turn, and lie down comfortably.
Do the check when your dog is relaxed, standing on a non-slippery surface, and wearing the harness exactly as they will wear it outside. If the fit changes after a haircut, winter coat, weight change, swim, or collar swap, repeat the process before relying on the setup.
Fast fit check before you clip the leash
A harness has an escape gap when an opening is large enough for a dog to pull a shoulder, elbow, or rib cage through it during backward pressure, twisting, or crouching. The most common problem areas are the neck opening, the strap behind the front legs, the chest panel, and the space where the belly strap sits under the rib cage.
- Neck opening: The harness should not slide over the point of the shoulder when your dog lowers their head.
- Chest and sternum: The front panel or strap should sit centered, not drifting to one side.
- Behind the front legs: You should not see a large open triangle when the dog turns or backs up.
- Belly strap: The rear strap should sit behind the elbows without rubbing into the armpits.
- Leash pressure: Gentle backward tension should not make the harness lift, rotate, or peel forward.
A harness passes the first check when it stays in position during normal movement and gentle leash tension without pinching, choking, rubbing, or letting the dog’s shoulders start to slide free.
Step 1: Start with your dog standing square
Ask your dog to stand naturally, with all four paws under them. A sit can hide fit problems because the chest and belly compress differently. If your dog is wiggly, scatter a few treats on the floor or have another adult calmly reward them while you look at the harness from the front, side, and above.
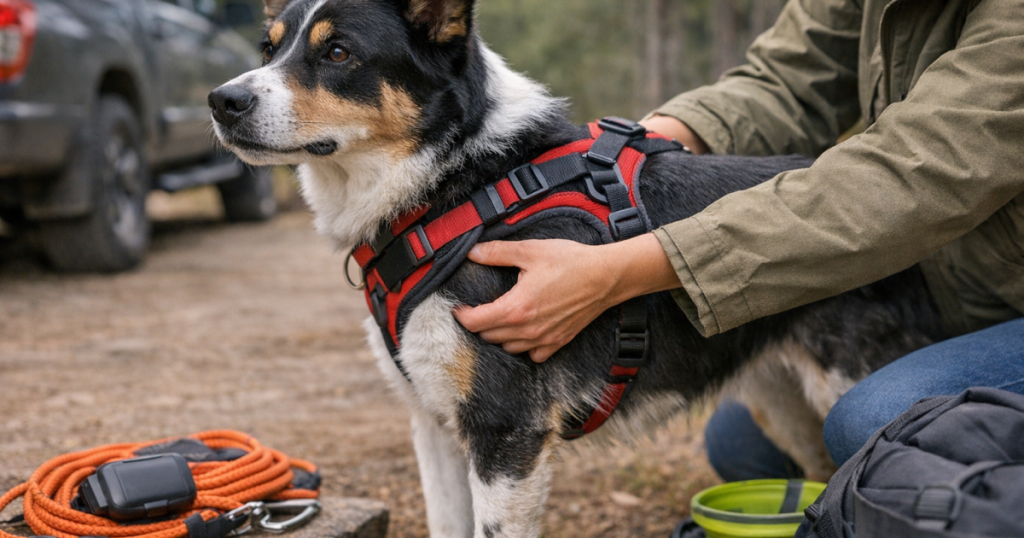
First, confirm the harness is not twisted. Webbing should lie flat, buckles should face the intended direction, and padded panels should sit against the dog instead of floating away from the body. A twisted strap can feel snug in one spot while creating a large opening somewhere else.
Next, check whether the harness sits on the dog’s body as designed. For many walking harnesses, the chest piece should rest on the front of the chest rather than across the throat. The belly strap should usually sit behind the front legs on the rib cage, not jammed into the soft armpit area. Harness styles vary, so use the maker’s fit instructions as your baseline, then apply the escape checks below.
Step 2: Use the two-finger test as a starting point, not a rule
The familiar two-finger test is useful, but it is not magic. Two fingers under a strap can mean different things on a 9-pound terrier mix, a deep-chested hound, or a fluffy northern breed. Treat it as a starting point for comfort, then test whether the harness actually stays put.
Slide two fingers flat under the neck strap, chest strap, and belly strap. You should feel contact without having to force your fingers through. If your whole hand slips under a strap, that area is likely too loose. If you cannot slide fingers under the strap at all, the harness may restrict movement or rub.
Pay extra attention to coat. A thick coat can make a harness feel secure indoors, then compress during a long walk and create space. A freshly groomed dog may need a different adjustment from the one that worked last month. For growing puppies, recheck often because a safe fit can change surprisingly quickly.
Step 3: Check the shoulder escape path
Many harness escapes begin with one shoulder. The dog backs up, ducks the head, twists slightly, and the harness starts rolling over the shoulder point. Once one shoulder is out, the rest can follow before the handler understands what happened.
Stand in front of your dog and look at where the neck opening meets the shoulders. Gently slide the harness forward with your hands. It should not be able to climb easily over the bony points at the front of the shoulders. Then ask your dog to turn left and right. If the harness gaps open dramatically on one side during the turn, adjust the side straps or reassess the harness style.
For dogs that have already learned to reverse out of gear, pair fit work with handling and training habits. Keep leash tension low when possible, avoid dragging the dog forward, and practice rewarding them for moving toward you instead of bracing backward. The mechanics are similar to collar escapes, and the same body awareness matters; our guide to training collar features for dogs who back out explains why backward pressure deserves special attention.
Step 4: Do a gentle backward-pressure test
Clip the leash to the harness and stand in front of your dog, a few feet away. With a loose, calm posture, apply light backward pressure for one or two seconds. Do not yank, lift, or scare the dog. You are checking movement, not trying to prove the harness can withstand a panic.
Watch three things: whether the neck opening slides forward, whether the chest panel rotates, and whether the belly strap moves toward the elbows. If the harness advances toward the head, pause and adjust. If the harness rotates sideways, check that both side straps are even. If the belly strap rides into the armpits, the harness may be too far forward, too loose at the rear, or the wrong shape for your dog’s body.
Repeat the test with your dog facing slightly left and slightly right. Many escape gaps only appear at an angle. A dog who twists while backing up creates a different shape than a dog standing square in the kitchen.
Step 5: Look under the elbows and along the rib cage
Run your hand under each front leg where the harness passes near the armpit. There should be enough clearance that the strap does not saw into the skin as the dog walks. At the same time, the strap should not hang so low that an elbow can slip over it during a crouch or sideways turn.
Ask your dog to take a few steps, turn around, and step over a low threshold or doorway strip. Watch the harness from the side. If the belly strap swings away from the rib cage, there may be too much slack. If your dog shortens their stride, licks at the strap, freezes, or shakes repeatedly, the fit may be uncomfortable even if it looks secure.
Deep-chested dogs, narrow dogs, and very small dogs often expose fit issues here. A harness that seems fine from above may leave a large side opening when viewed at elbow height. Get low for this part; the gap you miss from standing height is often the one your dog finds first.
Step 6: Test the leash connection you actually use
Fit can change depending on where the leash clips. A back clip may pull the harness upward and rearward. A front clip may rotate the chest section if the side straps are uneven. A dual-clip setup can distribute pressure differently again. None of these is automatically safer in every situation; the safer choice is the one that stays aligned on your dog during the way you walk.
Clip the leash to your usual attachment point and walk a few slow circles indoors or in a fenced area. Then stop, turn, and call your dog toward you. If you use a long line for training, repeat with the line attached, because the angle of pressure may be lower and farther behind the dog than a regular leash.
Vehicle routines deserve their own check. Dogs often slip gear when a door opens, when a leash is being transferred, or when a harness is loosened for comfort in the car. If your dog is a stoplight sprinter or gas-station door dasher, review escape-resistant restraint habits in our guide to car harnesses for dogs who bolt at stops.
Step 7: Recheck after real-world changes
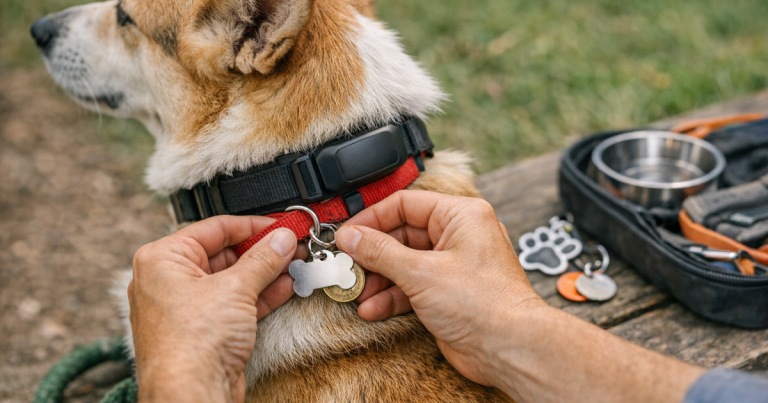
Recheck dog harness escape gaps after any change that affects body shape, strap tension, or leash angle. That includes bathing, swimming, a new haircut, weight gain or loss, seasonal coat changes, a different leash, adding a jacket, or switching from a collar-mounted ID setup to a harness-mounted tag or tracker.
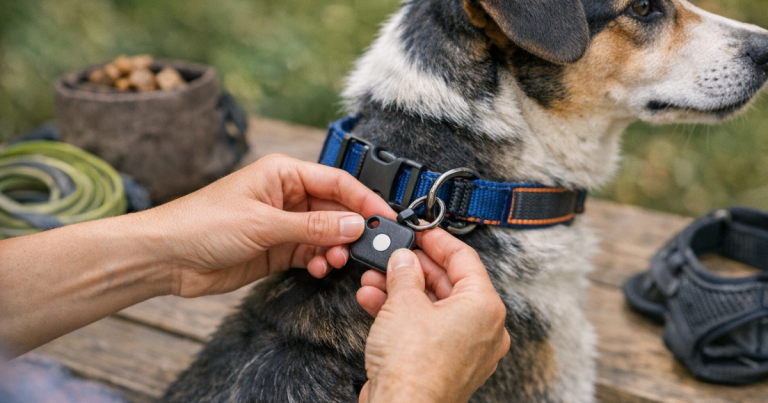
If you move a GPS tracker, ID tag, light, or camera mount onto a different strap, check whether the added weight makes the harness rotate. Small accessories can change how a lightweight harness sits, particularly on toy breeds or narrow-chested dogs. For tracker users, it is also smart to verify that the device still sits where it can function as intended; after a gear change, use our walkthrough on calibrating a dog GPS tracker after switching collars as a setup follow-up.
Warning signs that the harness is not secure enough
- The harness slides over one shoulder when your dog lowers their head or backs up.
- The chest piece drifts sideways during turns, sniffing, or light leash pressure.
- You can pull the neck opening forward close to the ears without much resistance.
- The belly strap swings away from the rib cage when viewed from the side.
- Your dog can hook an elbow over a strap when crouching, rolling, or twisting.
- The harness rubs, pinches, or restricts stride, which can make a dog resist and increase escape attempts.
If you see one warning sign, adjust and retest. If several remain, the harness shape may not match your dog. A different size is not always the fix; some dogs need a different cut, a longer body panel, a more adjustable design, or a separate safety backup during training.
Small adjustments that make checks more reliable
Mark the correct strap position with a small piece of fabric-safe tape or a washable marker dot on the webbing. That gives you a visual cue when a strap creeps loose over time. Check buckles for debris, hair, or cracked parts, and make sure adjusters are not sliding as your dog moves.
Build the fit check into a predictable routine: harness on, straps flat, two-finger comfort check, shoulder path check, gentle backward-pressure check, leash clipped, door opened only after the dog is settled. The order matters because it removes rushed decisions at the exact moment many escapes happen.
For anxious or newly adopted dogs, keep the first sessions short and rewarding. A dog who is still learning to trust handling may need several calm sessions before a full fit check feels normal. The aim is repeatability: the same calm process, every time, before the leash meets the outside world.
Common questions
Should a dog harness be tighter for an escape-prone dog?
It should be secure, not simply tighter. Over-tightening can cause rubbing, restricted movement, or resistance, and a resisting dog may try harder to back out. Remove the escape path at the shoulders, chest, and belly while preserving normal movement and breathing.
Can a dog still escape from a well-fitted harness?
Yes. No harness is foolproof, especially during panic, sudden backward pulling, or a poorly timed leash transfer. A good fit reduces the risk, but supervision, calm handling, backup ID, and a recovery plan still matter.
How often should I check the fit?
For daily walking gear, do a quick visual and finger check before each walk and a more complete movement check whenever something changes. Puppies, dogs changing weight, and dogs with thick seasonal coats need more frequent checks.
Practical takeaway
The safest harness check is calm, physical, and specific: look for openings at the neck, shoulders, elbows, and belly, then test how the harness behaves under gentle backward pressure and normal movement. If the harness stays centered without rubbing and does not offer a clear path over the shoulders or under an elbow, you have a much stronger starting point for walks, travel, and handoffs.
For escape-prone dogs, do not rely on one piece of gear to do every job. A well-fitted harness, updated ID, careful leash handling, and a tested tracker or recovery routine work together. That layered approach is what turns a scary moment into a manageable one.