A lost-dog search starts with maps, calls, and a lot of adrenaline, but small injuries can derail it fast. A dog first-aid kit for lost-pet searches should cover two jobs: stabilizing your dog long enough to reach veterinary care and keeping you safe while you handle a frightened, tired, or muddy animal. Pack light enough to carry, but complete enough for cuts, ticks, heat, cold, and the ride home.
Veterinary note: Diagnosis, medication use, wound treatment, and suspected heatstroke or poisoning should be handled by a licensed veterinarian or emergency veterinary clinic, following local veterinary guidance and safety requirements.
Pack for the first hour after you find your dog
A search kit is not a mobile veterinary clinic. Its job is to help you get through the messy window between “I see them” and “we are safely in the car.” That window can involve a limping dog, scraped paws, burrs, broken glass, creek water, heat, darkness, traffic, or a dog who is too scared to be handled normally.
The most useful kit is small enough to grab with the leash, tracker charger, flashlight, and car keys. If it lives in a cabinet behind holiday storage, it will provide moral support to the wrong room. Keep one compact kit in your vehicle or near the door you use for walks, then restock it after every search, hike, or road trip.
Start with a small waterproof pouch
Use a zippered pouch, dry bag, or hard-sided case that can survive a wet field or a leaking water bottle. Label it clearly so a friend, neighbor, or family member can find it without asking you twelve questions while you are staring at a moving GPS dot.
- Choose one main kit: Keep wound care, paw supplies, gloves, and ID notes together.
- Add a grab pocket: Put a slip lead, flashlight, and high-value treats where you can reach them without unpacking the whole kit.
- Use clear inner bags: Separate “wound,” “paw,” “tick,” and “human safety” supplies so you are not digging through gauze in the dark.
- Write dates on consumables: Replace expired saline, antiseptic wipes, and medications recommended by your veterinarian.
A preassembled canine kit such as Adventure Dog Medical Kit – Trail Dog can be a useful starting point, but do not assume it is search-ready until you check what is inside and add the items that match your dog’s routes, climate, and health history.
Step 1: Build the wound-care core
Lost dogs often come back with minor cuts, torn nails, scraped pads, or irritated skin from brush and fencing. Your kit should help you control mild bleeding, keep debris out of a wound, and protect the area until a veterinarian can examine it.
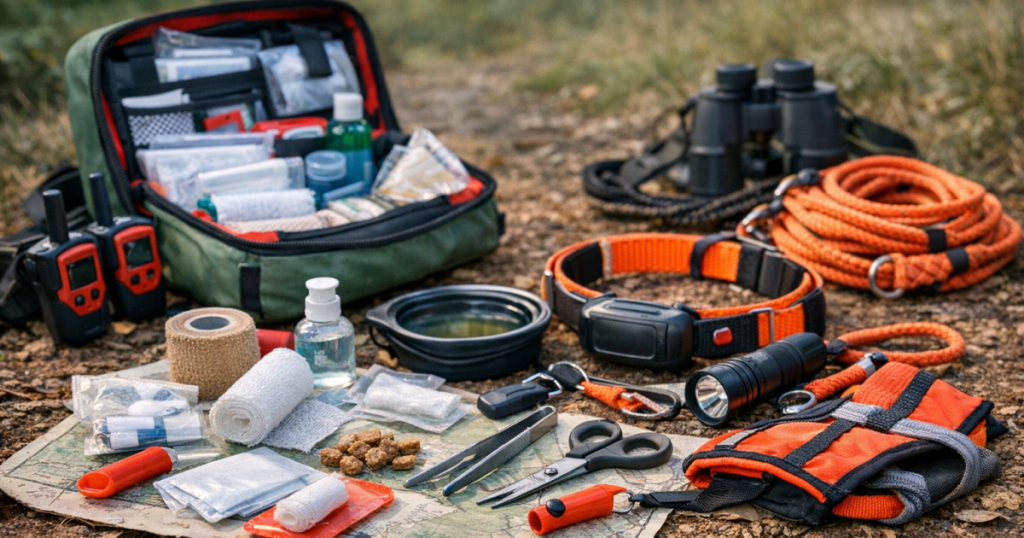
- Nonstick sterile pads for covering cuts without sticking to fur or skin.
- Rolled gauze for light wrapping and padding.
- Self-adhering bandage wrap, used snugly but never tight enough to restrict circulation.
- Sterile saline for flushing dirt from minor wounds or eyes.
- Pet-safe antiseptic wipes recommended by your veterinarian.
- Blunt-tip scissors for cutting gauze or wrap.
- Tweezers for surface debris, thorns, or burrs you can remove safely.
- Disposable gloves so you can handle blood, mud, or unknown residue more safely.
Do not close deep wounds, dig for embedded objects, or wrap a bandage and forget about it. Swelling under a tight wrap can become a second problem. If you cover a paw or leg, check toes frequently for warmth, color, and swelling on the way to care.
Step 2: Add paw and mobility supplies
Paw injuries are common after a dog crosses pavement, gravel, ice, dry grass, or wooded ground. A dog who was running on adrenaline may not show soreness until you are already walking back.
- A clean towel for drying paws, lifting mud, or creating a calm handling surface.
- Spare paw balm or veterinarian-approved pad protection for minor irritation.
- A lightweight temporary boot or clean sock to protect a scraped pad during the walk to the car.
- A soft muzzle or gauze muzzle only for dogs who can breathe normally and are not vomiting, overheated, or struggling to breathe.
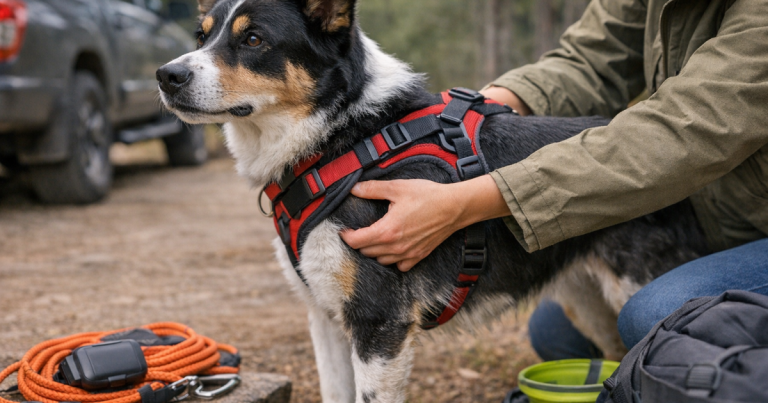
- A compact slip lead for securing a dog whose collar or harness is missing.
Handle a found dog as if they are sore, even if they are wagging. Fear and pain can make a familiar dog snap, bolt, or freeze. Calm hands and slow movement matter as much as anything in the pouch.
Step 3: Prepare for heat, cold, and water
Weather turns a routine recovery into a medical concern quickly. In much of the US, heat is the more common danger during daytime searches, but cold rain, snow, and wet creek beds can also wear a dog down.
- Carry a collapsible bowl and clean water for cooling breaks and rehydration.
- Pack an instant cold pack, wrapped in cloth before use, for short-term cooling support on the way to veterinary guidance.
- Add an emergency blanket to help retain warmth after rain, snow, or shock.
- Bring a spare towel for drying, shade, restraint, or protecting your car seat from mud and blood.
- Keep a small flashlight or headlamp in the kit for checking paws, eyes, fencing, and roadside ditches.
A bottle-and-bowl combo such as the Kurgo Gourd Water Bottle and Bowl can simplify water breaks during a search. The brand matters less than the habit: water should be with the search team, not waiting back at home.
Step 4: Include tick, burr, and debris tools
A dog found in brush may be carrying ticks, foxtails, burrs, splinters, or plant awns. Your job in the field is to remove what is easy and visible, then stop before you turn a small irritation into an injury.
- Fine-tipped tweezers or a tick remover.
- A small comb for burrs and seed heads.
- Saline for flushing surface dirt.
- Waste bags for contaminated pads, ticks, or muddy supplies.
- A notepad or phone note to record where you found ticks, swelling, limping, coughing, vomiting, or unusual behavior.
Check ears, armpits, groin, tail base, and between toes once your dog is calm. If you see repeated head shaking, squinting, deep punctures, breathing changes, or sudden weakness, treat that as a veterinary problem rather than a grooming chore.
Step 5: Pack for visibility and safe handling
Searches rarely happen under perfect porch-light conditions. They happen along roads, behind apartment buildings, near trailheads, and in yards where everyone is tired and nobody parked well. Add gear that makes both dog and handler easier to see.
- A reflective leash or spare leash.
- A small clip-on light or LED collar light.
- A bright bandana or vest for a helper who may be walking near traffic.
- Work gloves for fences, brush, storm drains, and nervous handling.
- High-value treats in a sealed bag for coaxing rather than chasing.
A visibility item such as the Nite Ize NiteHowl Rechargeable LED Safety Necklace is not a recovery plan by itself, but lights can help drivers, neighbors, and search helpers see movement sooner. That matters when a frightened dog is circling a block or cutting across a dark parking lot.
Step 6: Add identification and search notes
First aid is not only gauze. Information helps people make faster, safer decisions when they find your dog before you do.
- A recent printed photo of your dog, stored in a plastic sleeve.
- Your phone number and an alternate contact.
- Your veterinarian’s phone number and the nearest emergency veterinary clinic.
- A short note about medications, allergies, fear triggers, and handling warnings.
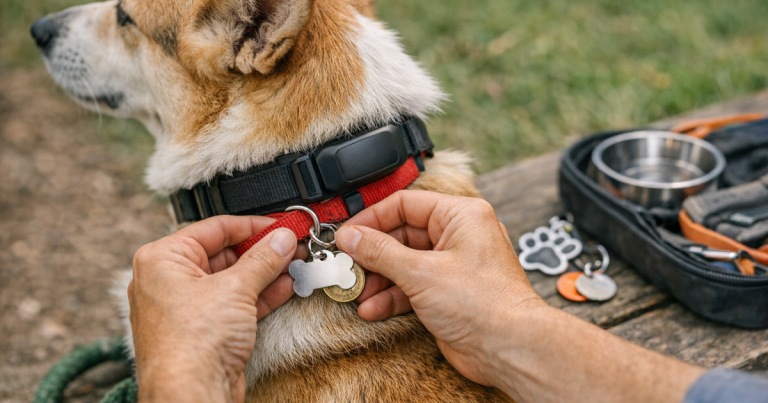
- A spare ID tag or temporary write-on tag.
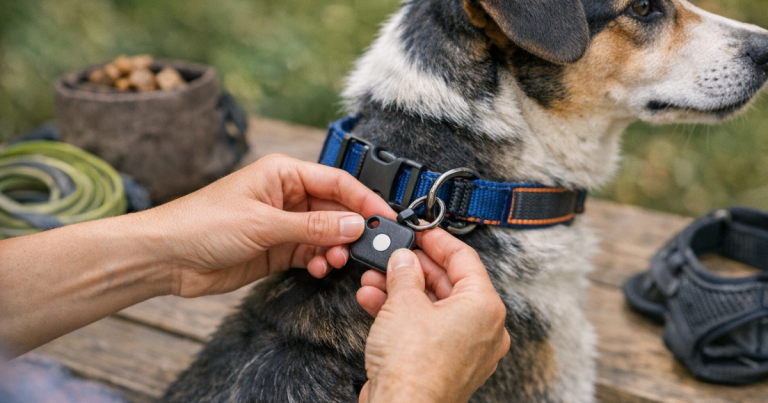
GPS can narrow the search area, but a person still has to make contact, read a tag, or call the number. If your dog’s tracker is the primary tool, make sure it is backed up with physical ID tags that a finder can use without downloading an app or scanning anything complicated.
Step 7: Make the kit fit your search scenario
A suburban door-dasher does not need the same loadout as a dog who bolts on mountain trails. Start with the same core, then add for the places your dog actually goes.
Neighborhood escape
Prioritize a slip lead, flashlight, reflective gear, gloves, printed photo, ID notes, and paw supplies. These searches often involve roads, fences, garages, and neighbors trying to help. Prevention work matters here too: after the immediate scare, check latches, sight gaps, and routines around doors and dog-proof backyard gates before the next near-miss.
Trail or rural search
Add more water, an emergency blanket, tick tools, a headlamp, extra gauze, and a longer leash. Rural searches may involve weak cell coverage, rough ground, water crossings, and delayed access to veterinary care. A tracker can help direct your route, but terrain and signal limits still shape what happens on foot.
Travel or motel escape
Keep a duplicate kit in the car. Add a printed vaccination summary, emergency clinic notes for the area you are visiting, and a spare collar or leash. Dogs often slip out during unloading, gas stops, bathroom breaks, or late-night walks in unfamiliar places.
Use the kit alongside your tracker, not instead of a plan
A tracker, Bluetooth tag, or smart collar can help you decide where to search first, but none of them replaces safe handling, ID, and a way to care for minor injuries once your dog is found. Before you head out, assign jobs: one person watches location updates, one drives or navigates, and one prepares the leash and first-aid pouch.
If you use alert-based tracking, review how you will respond before panic takes over. The goal is to move calmly toward the strongest information rather than sending five people running in different directions. For a search workflow, see how to use GPS alerts during an active lost dog search.
Restock it after every use
The best kit becomes a sad little bag of wrappers if nobody resets it. After a search, hike, or travel scare, lay everything out and replace what you used. Rinse mud from tools, recharge lights, update contact notes, and check that gloves, gauze, saline, and wrap are still present.
- Replace opened sterile pads and used bandage rolls.
- Throw away contaminated items safely.
- Wash towels before returning them to the kit.
- Check expiration dates every few months.
- Update emergency contacts after a move, new phone number, or veterinarian change.
Key questions answered
Should I carry dog medication in the kit?
Only carry medication your veterinarian has specifically directed for your dog, with the correct label and instructions. Do not give human pain relievers or leftover prescriptions during a search unless a veterinarian has told you to do so for that situation.
How big should the kit be?
Small enough to grab fast, large enough to handle minor wounds, paws, visibility, water, and safe restraint. If you cannot carry it while holding a leash and flashlight, it is too large for the first response kit.
What should I do first when I find my dog?
Secure them calmly before inspecting injuries. Clip a leash or slip lead, move away from traffic or hazards, offer quiet reassurance, then check breathing, bleeding, mobility, heat stress signs, and paw damage before deciding whether to go straight to emergency veterinary care.
Why this kit matters
The right supplies will not make a tracker foolproof or turn a stressful search into a tidy checklist. They do something more realistic: they remove avoidable friction when your dog is scared, dirty, sore, or finally back in reach. Pack the kit, keep it close, and hope it spends most of its life untouched. That is exactly the kind of boring safety gear worth having ready.