A backyard gate can look closed and still be the easiest exit on the property. A dog only needs one loose latch, one tempting gap, or one distracted human carrying groceries to turn a normal yard break into a search. If you need to dog-proof backyard gates, start with the gate your dog uses most, then work outward from the latch, bottom edge, hinge side, and daily routine.
Structural repairs to leaning gate posts, automatic gate mechanisms, and fence work that affects property lines should be carried out by a qualified fence or gate professional in line with local codes, manufacturer instructions, and safety requirements.
Start with the escape route, not the hardware
The fastest way to prevent a dog from escaping the backyard is to identify how the gate fails in real life: pushed open, nosed through, jumped over, dug under, or opened during human traffic. Each escape style needs a different fix, and the best setup usually combines a physical barrier with a calmer gate routine.
- Pusher: The dog leans, paws, or body-checks the gate until a weak latch gives.
- Noser: The dog works a muzzle into a narrow opening near the latch or hinge side.
- Digger: The dog targets soft soil under the gate or along the fence line.
- Jumper or climber: The dog uses the gate rail, a planter, firewood, or patio furniture as a launch point.
- Door-dasher at the gate: The dog waits for a person to enter, then bolts through the opening.
Spend a few minutes watching from inside the yard while your dog is relaxed, not already wound up. You are looking for pressure points: where the dog sniffs, paws, stares, or returns again and again. That behavior usually tells you where the gate needs attention first.
Step 1: Make the latch boringly reliable
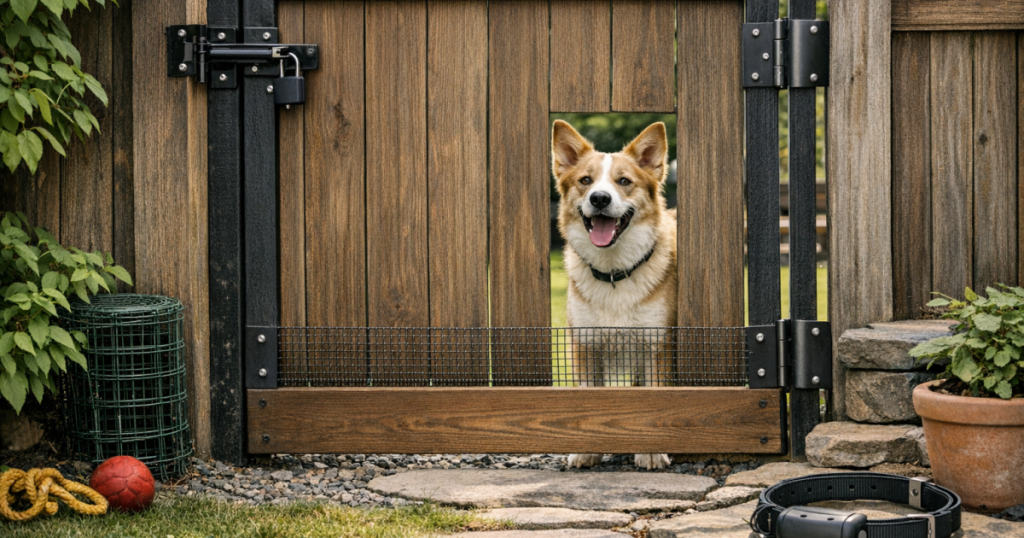
A gate latch should close cleanly every time, without needing a shove, lift, or lucky angle. If the latch catches only when the gate is perfectly aligned, it is not dog-proof enough for a real backyard where soil shifts, wood swells, hinges sag, and kids forget to double-check.
Close the gate slowly and watch the latch meet the strike plate. If the gate drops below the latch, bounces back, or leaves a visible opening when it is “closed,” adjust the alignment before adding more gadgets. A second latch can help, but it should not be used to hide a gate that no longer hangs square.
Useful latch habits
- Place the latch high enough that your dog cannot paw it open, while keeping it usable for adults in the household.
- Choose a latch style that requires a deliberate human action rather than simple pressure from the dog’s side.
- Check that the latch cannot be lifted by vibration when the gate slams or the dog jumps against it.
- Teach family members to listen for the latch engaging instead of assuming the gate swung shut.
For dogs who get excited near exits, hardware is only half the answer. Ask for a sit or hand target several feet back from the gate before anyone opens it. The goal is not a polished obedience performance; it is creating a pause between “gate moves” and “dog explodes forward.”
Step 2: Close the bottom gap before your dog studies it
Many yard escapes begin at ground level. A dog may not need to dig a tunnel; a few inches under a flexible gate can be enough for a small dog, puppy, narrow-headed breed, or determined escape artist. Even larger dogs may start by worrying at a gap until soil loosens.
Stand inside the yard and look at the gate from your dog’s eye level. If you can see daylight under the gate, assume your dog has noticed it too. Safer fixes include leveling uneven ground, adding a firm threshold, extending fencing material downward, or placing heavy pavers where digging has started. Avoid sharp edges, loose wire ends, or temporary boards that can shift and create a new hazard.
If your dog digs from stress, boredom, prey drive, or noise sensitivity, blocking the gap is still important, but it will not solve the whole problem. Add supervision during trigger times, give your dog a safe place away from the fence line, and avoid leaving a known digger outside unattended during storms, fireworks, construction noise, or heavy neighborhood activity.
Step 3: Remove climbing aids near the gate
A gate may be tall enough on paper and still climbable in practice. Horizontal rails, stacked bricks, trash cans, patio chairs, storage bins, wood piles, and raised garden beds can all shorten the jump. Energetic dogs do not measure fences; they use what the yard gives them.
Walk the inside of the gate area and move anything that creates a step within jumping distance. Pay special attention to corners, because a dog can use two fence faces for leverage. If the gate has decorative openings or foothold-style rails, consider adding a smooth interior panel so paws cannot hook into the structure.
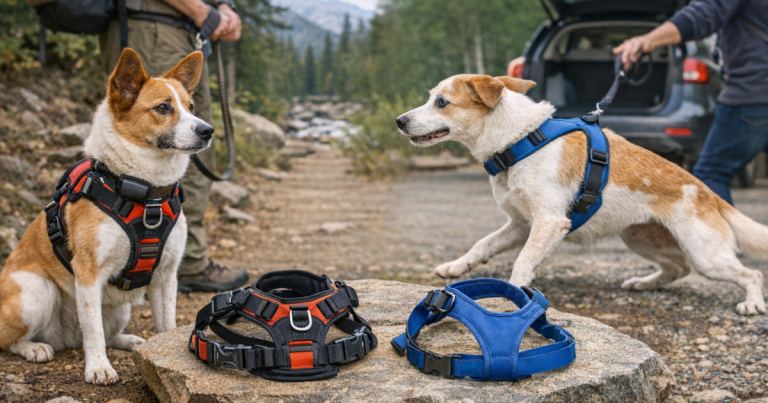
For skittish dogs, climbing often happens when they panic rather than when they are calmly exploring. That is one reason gate safety should include both environment and handling. A secure harness can give you more control when moving a nervous dog through the yard-to-driveway transition; our guide to escape-resistant harnesses for skittish dogs explains fit concerns that matter when a dog backs up or twists.
Step 4: Treat the gate as an airlock
The safest household routine is to stop thinking of the gate as one barrier and start treating it like a transition zone. Before the gate opens, your dog should either be indoors, on leash, behind a second barrier, or calmly held several feet away. This matters most during deliveries, lawn service, parties, school pickup, and any moment when several people are moving in and out.
A simple airlock routine can look like this:
- Bring the dog inside before opening the driveway or side gate.
- If the dog must be outside, clip on a leash before unlatching the gate.
- Ask guests and workers to text or knock instead of entering the yard unannounced.
- Keep a spare leash near the back door, not hanging on the gate where it may be forgotten.
- Do a verbal gate check: “latched” before the dog is released back into the yard.
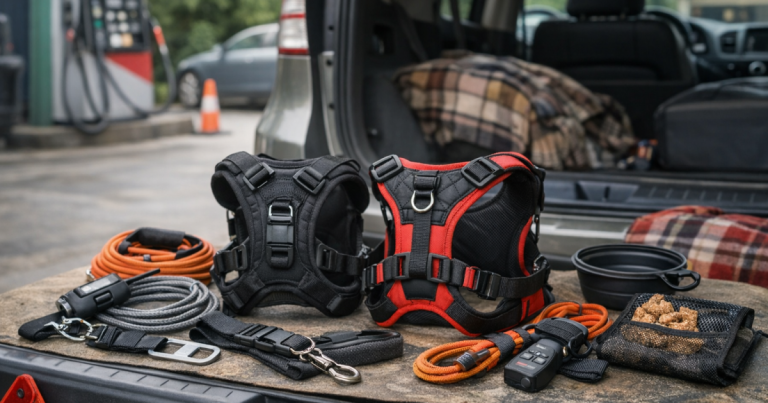
For dogs that slip collars or reverse out of gear, add a backup connection during high-risk moments. The article on backup leash attachments for dogs that back out of collars covers ways to reduce the chance that one failed connection becomes a full escape.
Step 5: Add visibility for humans, not just barriers for dogs
Some gate escapes happen because people simply do not notice the gate is open. Make the latch area easy to see from a kitchen window, patio door, or driveway. Trim shrubs that hide the gate. Add a bright “keep gate closed” sign if visitors use that entrance. At night, make sure the gate area is lit well enough that someone can confirm the latch without guessing.
Color contrast helps, too. A dark latch on a dark fence disappears in low light. A visible latch, a reflective strip, or a clearly marked handle makes it easier for teenagers, guests, dog sitters, and tired adults to do the right thing without a lecture. The less your safety routine depends on memory, the more durable it becomes.
Step 6: Keep recovery gear separate from prevention
A secure gate reduces risk, but it should not be your only lost-dog plan. Dogs can escape through storm damage, a visitor’s mistake, a delivery gate left ajar, or a sudden fear response. ID tags, a properly fitted collar or harness, updated microchip information, and a tracker can all help after an escape, but none of them make an unsafe gate acceptable.
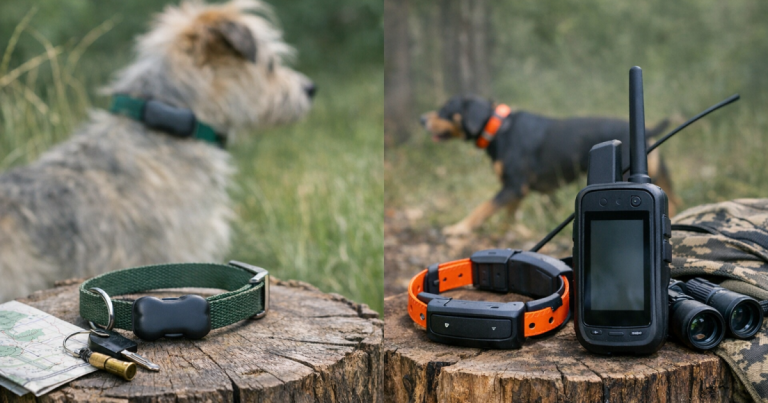
Use tracking tools as recovery support, not permission to relax the yard setup. Cellular trackers depend on coverage and battery status, Bluetooth tags are close-range aids, and field-style systems have their own use-case limits. If your dog does slip out, alert timing and search decisions matter; our walkthrough on using GPS alerts in a lost dog search is a helpful next step for turning notifications into action.
Weekly gate checks that take less than five minutes
Once the gate is improved, keep it that way with a short routine. Backyard hardware changes slowly, then fails suddenly. A five-minute check can catch the loose screw, swelling board, or new dig spot before your dog turns it into a route.
- Open and close the gate three times and confirm the latch catches each time.
- Push gently from the dog’s side to see whether the latch holds under pressure.
- Check the hinge side for widening gaps.
- Look for fresh soil disturbance, claw marks, or nose rub marks near the bottom.
- Move chairs, bins, planters, or stacked items away from the gate area.
- Confirm every household member knows which gates must stay locked or latched.
Do the same check after storms, yard work, fence repairs, parties, or any day when people outside your household used the gate. Most escapes are not caused by one dramatic failure. They are caused by a small weakness meeting the exact wrong moment.
Main points
The strongest backyard gate plan combines four things: a latch that closes reliably, blocked gaps at the bottom and sides, no climbing aids near the fence line, and a household routine that keeps the dog away from the opening. Add ID and tracking as backup, but keep your first effort on prevention. A quiet, uninteresting gate is the goal; your dog should find the yard fun, not the exit.