When a frightened dog stops answering to their name, the search can feel painfully quiet. Used well, trail cameras for lost dogs turn quiet corners, feeding stations, and trail crossings into watch points while you rest, regroup, or search elsewhere. They will not replace fresh sightings, GPS data, or local outreach, but they can help you confirm that your dog is still in the area and moving on a pattern.
If your recovery plan includes a humane trap, restraint, or entry onto restricted property, that part should be coordinated with an experienced local rescue, animal control officer, or qualified pet recovery professional to follow local ordinances and safety requirements.
In brief
- Place cameras where a lost dog is likely to pass, not just where you hope they will appear.
- Use recent sightings, GPS pings, food stations, water sources, and natural travel routes to choose camera locations.
- Check cameras calmly and consistently so you do not add extra noise, scent, or activity at the site.
- If you get a photo, resist the urge to rush in. The image is evidence for planning, not a signal to chase.
- Keep the setup simple: a few well-placed cameras usually help more than a large, scattered setup nobody can monitor.
Start with evidence before placing cameras
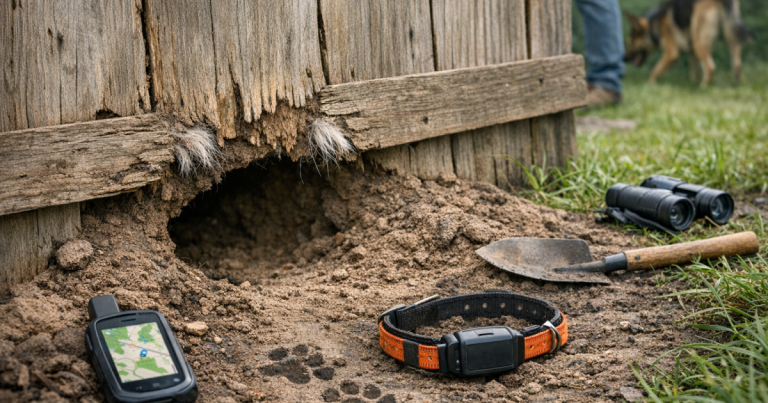
A trail camera is most useful when it tests a specific theory: “Is my dog returning to the creek crossing after dark?” or “Is she circling back to the neighbor’s barn?” Before you set anything up, mark every reliable data point on one map. Include the last confirmed location, time-stamped sightings, paw prints, disturbed food, bark reports, and any GPS tracker locations.
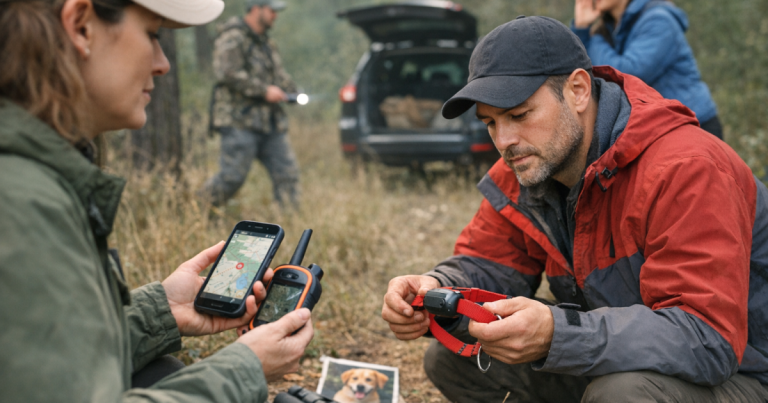
If your dog was wearing a tracker, use the camera to support the tracker data rather than compete with it. A stale location may still tell you which direction the dog was traveling, which roads they avoided, or which brush line they followed. For a step-by-step way to interpret those clues, use the guide on tracking a lost dog using recent GPS pings before you decide where the first camera should go.
If there is no tracker data, prioritize confirmed sightings over guesses. One calm neighbor who saw your dog at 6:40 a.m. near a drainage ditch is more useful than ten vague comments that a similar dog was “somewhere nearby.” Trail cameras reward patience and pattern recognition.
Pick locations a cautious dog might actually use
Lost dogs often avoid wide-open, noisy, or heavily searched areas, especially once they become scared. Think like a dog trying to stay hidden while still finding food, water, and familiar scent. The best camera location is usually not the busiest search area. It is the quiet edge next to it.
1. Start near the last confirmed location
Place one camera close to the last solid evidence, but not in the middle of a footpath where people will keep triggering it. Aim across the direction of travel, not straight down a long trail. Side-angle photos are often easier to interpret because you can see body shape, collar, direction, and pace.
2. Watch food and water without crowding them
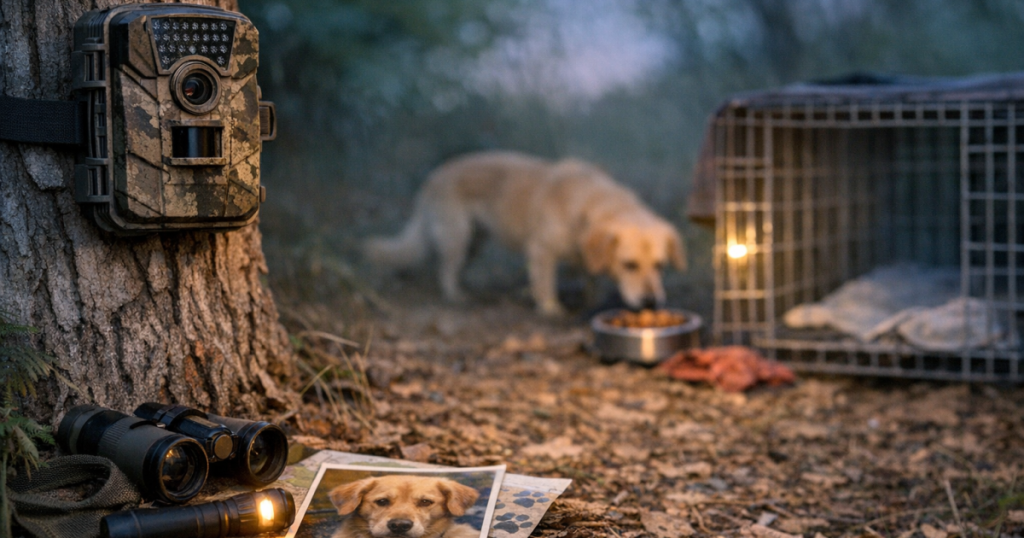
If you set out food, place the camera far enough back to capture the approach, not just the bowl. A dog may circle several times before stepping in. A camera aimed too tightly at the food can miss the clue that matters most: which direction your dog used to enter and leave.
3. Cover natural funnels
Look for fence gaps, creek beds, tree lines, livestock paths, alleys, drainage areas, and the backs of parking lots. These funnels matter because they narrow movement. A camera watching one narrow crossing can produce more useful information than a camera facing a wide field.
4. Use familiar scent areas carefully
Porches, side gates, garage doors, and the edge of the yard can be valuable if your dog is circling home. Keep the area quiet. Too many family members calling, walking, and repositioning items can turn a comforting location into an overstimulating one.
5. Ask permission before using private property
Do not trespass to hang a camera. A brief, calm request to a homeowner, farm owner, business manager, or park staff member often works better than a rushed search. Explain that the camera points at the ground or a trail line, not at people or homes, and provide your phone number in case they capture a sighting.
Set up the camera so it helps rather than scares
For most medium-size dogs, start with the camera around knee height, roughly 12 to 24 inches off the ground, and angle it slightly downward. For a small dog, go lower. For a large dog, a little higher may work. The goal is a clear view of the dog’s body and direction of travel, not a dramatic wildlife photo.
Avoid pointing the camera into direct sunrise or sunset glare if you can. Avoid aiming it at busy roads, waving branches, sidewalks, or areas where headlights will trigger repeated images. Every false trigger makes the camera harder to review and can drain power faster.
Use a strap instead of nails on trees or posts unless the property owner has clearly allowed otherwise. If the camera will be near a public trail or roadside, place it discreetly and consider a lock or security cable. Label the camera with your phone number and a short note such as “Lost dog search camera” so a well-meaning person does not remove it.
If your camera has visible lights or sound cues, test them at home first. Some dogs ignore camera activity; others avoid anything new. You are not trying to create a perfect technical setup. You are trying to create a quiet, boring watch point that a nervous dog will not notice.
Build a small search grid, not a camera maze
Two to four cameras can be enough for many neighborhood searches if they are placed thoughtfully. Put one at the strongest evidence point, one at the most likely food or water location, and one or two on travel routes leading away from that area. If you have only one camera, place it where the next photo would change your decision.
A useful question is: “If this camera captures my dog tonight, what will I do differently tomorrow?” If the answer is unclear, the camera may be in the wrong place. You want images that help you tighten the search area, adjust feeding, confirm direction, or decide whether to bring in experienced help.
During the first stretch of a search, trail cameras should fit into a wider plan: flyers, shelter reports, neighborhood alerts, calm sighting collection, and a clear response plan. If you are still organizing those basics, work through a lost dog recovery plan for the first 72 hours alongside your camera setup.
Check cameras without disrupting the pattern
Pick one or two check times and stick with them. Midday is often less disruptive than dawn or dusk, when a cautious dog may be moving. If a camera uses a memory card, swap cards quickly and leave the area. If it sends photos wirelessly, avoid sending multiple people to “just take a look” after every alert.
Keep a simple log for each camera:
- Camera name or number
- Exact location and direction it faces
- Date and time installed
- Food, water, scent item, or landmark nearby
- Images captured and time stamps
- Weather, unusual noise, or human activity near the site
Time stamps matter. A blurry photo at 3:12 a.m. may show that your dog is returning when the neighborhood is quiet. A repeated appearance within the same 60- to 90-minute window can help you plan a calm feeding station or supervised recovery attempt. Do not rely on memory during a stressful search; write it down.
What to do when your dog appears on camera
The hardest moment is often the first photo. You may want to run straight to the site, call loudly, and flood the area with helpers. That reaction is understandable, but it can push a scared dog farther away.
First, confirm the image as carefully as possible. Look for collar color, tail shape, markings, size, gait, and direction of movement. Then review the time. Was the photo minutes ago or hours ago? Is your dog entering the area, eating, leaving, or simply passing through?
Next, reduce pressure around the location. Ask searchers to stay back unless they have a specific role. Keep cars, flashlights, and shouting away from the camera zone. If your dog is skittish, a quiet owner sitting low and still may be safer than a group approaching from several directions.
Do not chase. Do not form a crowd. Do not keep calling if your dog looks anxious or keeps retreating. Use the photo to predict the next movement, stabilize the food source, and decide whether trained recovery support or animal control should be involved.
Common camera mistakes that slow recovery
- Moving cameras every few hours before a pattern has time to show.
- Placing cameras too high, which captures ears or backs instead of identifying details.
- Aiming only at the food bowl and missing the route in and out.
- Checking cameras during the dog’s likely travel window.
- Assuming no photo means the dog is gone; the camera may simply be facing the wrong angle.
- Letting too many helpers enter the same quiet zone and change the dog’s behavior.
- Ignoring privacy and property boundaries, which can create conflict when cooperation is needed most.
After recovery, keep the lesson
Once your dog is home, take a breath before analyzing every decision. Then write down what actually helped: the camera location, the time of movement, the food source, the neighborhood contact, the tracker ping, or the quiet approach that finally worked. Those notes can shape a better prevention routine.
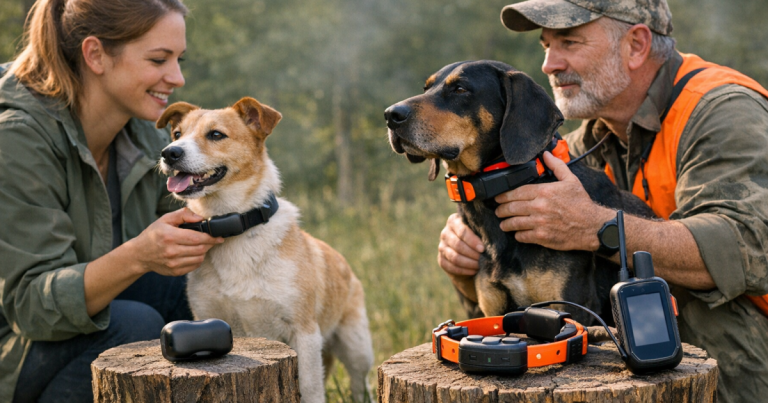
For an escape-prone dog, recovery tools work best when they are backed up by good identification, secure collars or harnesses, gate routines, and visibility gear. The goal is not to assume any one tool will save the day; it is to build layers that make the next scare less likely and easier to respond to. The escape-prone dog safety gear guide can help you think through those layers after the immediate emergency is over.
FAQ
How many trail cameras do I need to find a lost dog?
Start with one to three if that is what you can monitor well. A small number of well-placed cameras is usually more useful than many cameras spread across guesses.
Are trail cameras for lost dogs better than a GPS tracker?
No. They do different jobs. A GPS tracker can show recent location data when it is working and connected; a trail camera can confirm movement at a fixed spot, including when a dog is avoiding people.
Should I put a trail camera directly at my front door?
It can help if your dog may circle home, but avoid creating a busy, noisy setup. Aim at the approach path or yard edge so you see how your dog enters and leaves.
Can I use bait or food with a trail camera?
Yes, but keep it consistent and safe. Do not scatter food all over the area, and avoid creating a situation that attracts wildlife, blocks public paths, or causes conflict with neighbors.
What if the camera catches another dog or wildlife?
Log it anyway. Other animals can explain missing food, false alarms, or changes in your dog’s behavior. The pattern still helps you adjust the search.
What to remember
A trail camera is a patience tool. It watches when people are tired, records movement when a frightened dog stays silent, and turns scattered sightings into a clearer plan. Place it where evidence points, check it without disrupting the area, and treat every photo as information to guide a calm next step.