Before your dog ever slips through a hotel door or noses past a campsite chair, test dog tracker settings in the same kind of signal and noise you will rely on during travel. A tracker that looked fine at home can behave differently inside a concrete hotel, under trees, or in a campground with patchy cell service. Ten quiet minutes after check-in can prevent the panicked moment when the map, battery, alerts, and backup ID all need to work at once.
The goal is not to prove that any tracker is perfect. It is to learn how your dog’s tracker behaves in that specific place, with that specific collar fit, and with the phones and people who would actually help if your dog got loose.
The short version: a calm 10-minute travel test
For most dog GPS trackers, calibration before travel means confirming that the device has a fresh location, can communicate from your current surroundings, sends alerts as expected, and is attached securely enough for real movement. Most pet trackers do not need manual GPS calibration in the surveyor’s sense; the useful travel check is a practical function test.
- Fully charge the tracker before leaving home, then check battery again after arrival.
- Open the tracker app outdoors and wait until the location shown is close to where you are standing.
- Confirm the dog’s profile, collar assignment, contact details, notification settings, and any temporary safe zone.
- Walk the tracker away from the room, RV, tent, or cabin without letting the dog roam loose.
- Watch how quickly the app updates, whether alerts arrive, and whether the map points you in the right direction.
- Check collar fit, tag backup, visibility gear, and leash routine before the dog gets relaxed or excited.
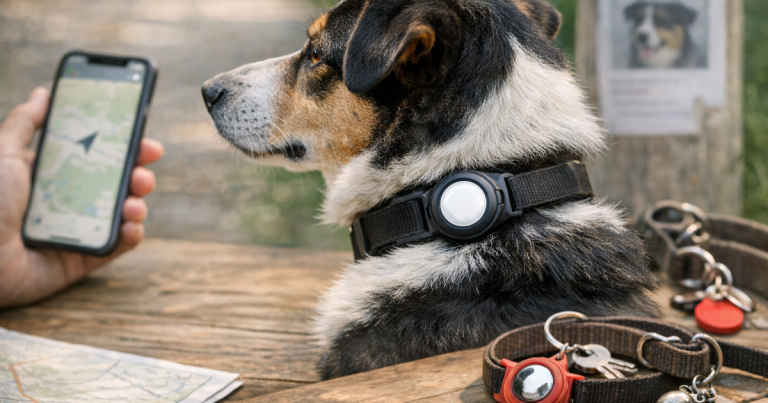
If your setup also uses a Bluetooth tag, treat it as a backup recovery aid rather than the main travel tracker. Bluetooth-based item trackers depend on nearby compatible devices and are not the same as GPS tracking; this distinction matters most in quiet campgrounds, rural roads, and trail areas. For a deeper breakdown, see what Bluetooth trackers can and cannot do for lost-pet recovery.
Start the test before you leave home
The hotel or campsite test works better if the basic setup is already clean. Do not wait until you are standing in a dark parking lot with luggage, a tired dog, and a weak signal to learn that alerts are muted or the collar was fitted loosely.
Charge and open the app before departure
Charge the tracker according to the maker’s instructions and open the app before you load the car. Confirm that your phone is signed in, notifications are allowed, and the tracker is assigned to the correct dog. If more than one family member may search during an escape, make sure the right people can access the information they would need.
This is also the time to look for app updates or device prompts. Avoid starting a trip with an update half-finished or a tracker that has not checked in recently. If the app shows stale location information at home, solve that before assuming travel will improve it.
Check the physical setup on your dog
Run two fingers under the collar or harness attachment point and make sure the tracker is not twisting, dangling, or sitting where it will rub. Small dogs may notice bulk more than large dogs; thick-coated dogs may hide loose attachments until they shake or roll. If your dog wears both a collar and harness, decide which one carries the tracker and which one carries ID so you are not fumbling at the room door.
For escape-prone dogs, a tracker should support a wider prevention routine, not replace one. A reflective harness, sturdy leash, and careful door routine still matter, especially when your dog is excited by new smells or startled by hallway noise. If you are practicing recall near travel lodging, pair tech checks with reflective harness and long-line recall practice so the dog is never being tested loose in an unfamiliar place.
Run the first hotel check in the parking lot
Hotels are tricky because the places where dogs escape are often the places where signals and attention are weakest: sliding lobby doors, stairwells, elevators, side entrances, and busy parking lots. Start outside, where the tracker has the best chance to get a current location.
Step 1: stand still and confirm the dot
Take your dog, phone, and tracker outside on leash. Stand in an open part of the parking lot for a minute or two and open the app. You are looking for a sensible location, not inch-perfect precision. If the dot places you across the street or behind the building, wait for another update before relying on it.
Some drift is normal with consumer GPS tracking, especially around tall buildings, metal structures, covered parking, and dense tree cover. The practical question is whether the app would get you to the right area quickly if your dog bolted.
Step 2: create or adjust the temporary safe area
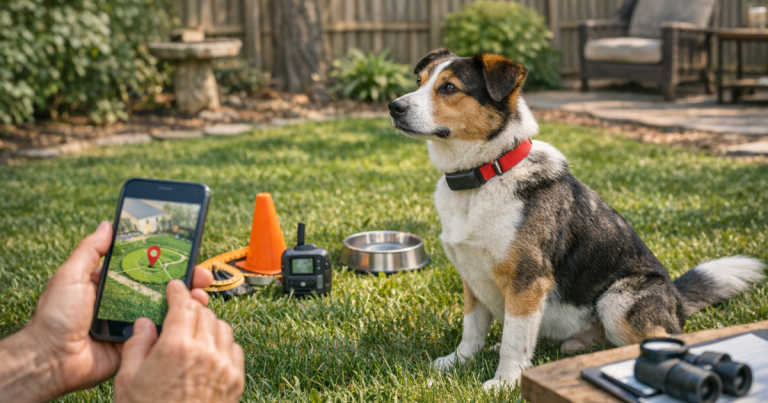
If your tracker supports safe zones or escape alerts, set one that makes sense for the trip. At a hotel, that may be the building and immediate relief area rather than the entire property. At a campground, it may be your campsite, cabin loop, or RV pad. Avoid making the zone so large that your dog could cross a road, reach another campsite, or disappear behind buildings before an alert matters.
Temporary safe areas are imperfect. They can lag, they can be affected by location drift, and they should not be treated like an invisible fence. Their value is as an early warning layer while you continue using leash control, closed doors, and human supervision.
Step 3: simulate an escape without risking the dog
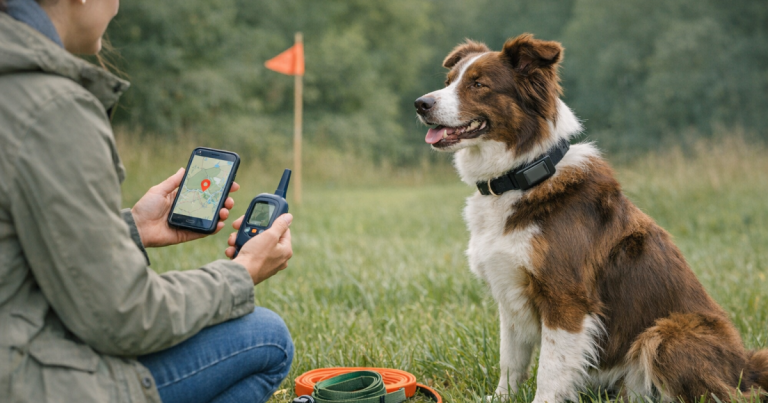
Do not let your dog loose to test the tracker. Instead, have one person hold the dog securely while another carries the tracker away from the safe area, or clip the tracker to the dog while walking on leash along the edge of the zone. Watch whether the app updates, how the alert arrives, and whether the map direction is useful.
Use this moment to answer practical questions: Did the alert make a sound or only vibrate? Did it go to the right phone? Could you understand the map while standing in an unfamiliar parking lot? If you were carrying a leash, treats, flashlight, and room key, would the workflow still be manageable?
Repeat the test at your campsite, cabin, or RV spot
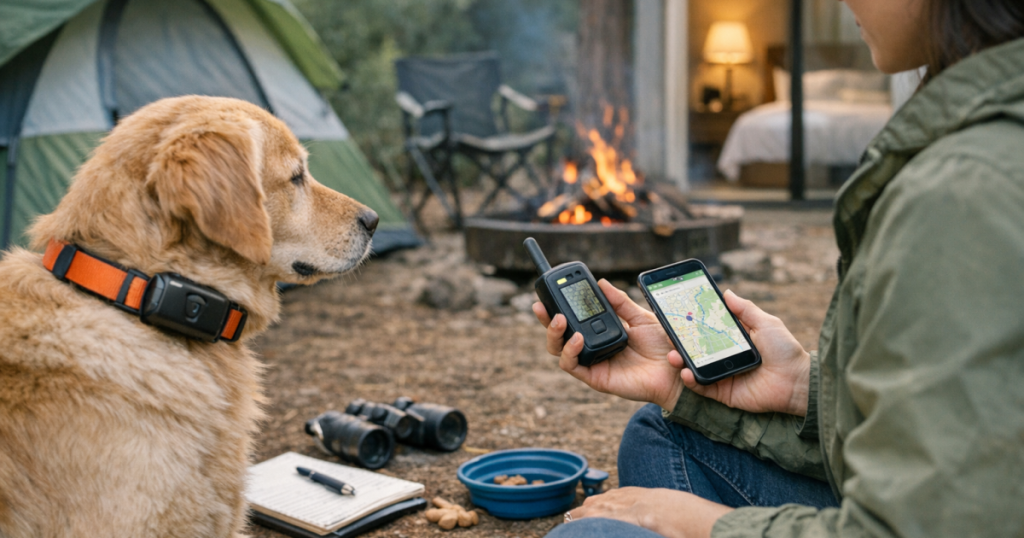
Campgrounds add a different set of problems: tree cover, hills, ravines, water, low light, wildlife scents, and limited cell service. A tracker may acquire location but struggle to send updates if the communication network is weak. That is why the campsite test should include both map behavior and the human recovery plan.
Walk the boundaries while the dog is leashed
With your dog on leash, walk the likely escape routes: the path to the bathhouse, the road past your site, the trailhead, the creek edge, the neighboring campsite, and the route back to your vehicle. Watch whether the tracker updates in a way that matches your movement. You do not need constant perfection; you need to know where the blind spots are.
If a certain corner of the campground consistently shows delayed updates, treat that area as higher risk. Shorten the leash there, avoid tying the dog out unattended, and make sure someone has eyes on the dog when doors, tent zippers, or RV steps are in use.
Test after dark, before you actually need it
Many lost-dog scares happen during dinner, late bathroom trips, fireworks, storms, or the first bedtime in a strange place. Do one low-stress evening check while everyone is calm. Open the app, confirm the tracker is still reporting, and verify that your phone is not in a sleep mode that silences alerts.
A small light on the dog’s collar or harness can make the human side of recovery easier, but visibility gear is not a tracker. It helps you spot your dog once you are close; it does not solve stale location updates, missing ID, or weak network coverage.
What to check if the location looks wrong
A wrong-looking map dot does not always mean the tracker is broken. Travel changes the environment around the device. Before assuming failure, use a quick symptom-and-fix check.
- The dot is stale: open the app, move outdoors, and wait for a fresh update. Check whether the tracker has battery power and whether the phone has data service.
- The dot jumps around the hotel: move away from covered parking, tall walls, stairwells, or heavy roof structures and check again from an open area.
- The alert did not arrive: check notification permissions, phone volume, focus or sleep settings, and whether the safe zone was set too wide.
- The tracker shows movement after the dog is inside: consider normal GPS drift before panicking. Confirm the dog is physically with you, then compare the next update.
- The map is hard to use: zoom out, identify roads, trail names, campsite numbers, or landmarks, and decide who would drive and who would search on foot.
If you are traveling somewhere remote, be realistic about coverage before you leave the driveway. Devices differ in how they receive location and how they transmit it back to your phone. For example, the Fi Ultra Dog Tracker is one of the devices readers often research when thinking about harder travel environments, but no tracker removes the need to understand coverage, battery, fit, and backup recovery steps.
Build a simple lost-dog workflow while you are still calm
The best test is not just technical. It should also show whether your people know what to do. A hotel escape and a campsite escape unfold differently, so assign roles before there is a problem.
At a hotel
- Keep one person at the last confirmed location, such as the room, side door, or relief area.
- Send one person toward the newest tracker location with a leash, high-value treats, and a phone.
- Ask the front desk to watch exits or note sightings, without expecting staff to search for you.
- Check stairwells, parking-lot edges, loading areas, landscaping, and nearby sidewalks.
- Avoid shouting or chasing if the dog is frightened; move calmly and use familiar cues.
At a campsite
- Identify the roads, loops, trailheads, water access, and neighboring sites before dark.
- Keep the dog’s leash, flashlight, shoes, and phone in the same place every night.
- Ask nearby campers to report sightings rather than grab a scared dog.
- Use the tracker location as a guide, then slow down when you get close.
- Check under picnic tables, behind vehicles, near food smells, and along the route back to your tent or RV.
Write the plan in your phone notes if you are traveling with family or friends. During a scare, nobody remembers the neat verbal plan from check-in. A short note saying who calls, who searches, and which direction to start can save minutes.
Key questions answered
Do I need to calibrate the GPS itself?
Usually, no. Consumer dog GPS trackers generally do not ask owners to manually calibrate GPS hardware. What you can calibrate is the travel setup: current location, alert behavior, safe-zone size, phone notifications, collar fit, and the recovery routine you will use in that environment.
How far should I walk during the test?
At a hotel, walk far enough to cross the temporary boundary and reach the nearest realistic escape area, such as a side door, parking-lot edge, or sidewalk. At a campsite, walk the loop, road, or trail entrance most likely to attract your dog. Keep the dog leashed throughout.
Should I test with the dog off leash?
No. The test should never create the emergency you are trying to prevent. Carry the tracker, walk the dog on leash, or have another adult help simulate movement while the dog stays controlled.
The big picture
A hotel or campsite tracker test is a small routine with a big purpose: it turns unfamiliar surroundings into a known recovery map. You learn whether the tracker is charged, whether the app is awake, whether alerts reach the right person, where signal weak spots may be, and how your dog’s collar setup behaves away from home.
Use the tracker as one layer in a larger travel system. Good ID, secure leash habits, closed doors, visible gear, calm handling, and a rehearsed recovery plan all matter. When those pieces work together, you are not relying on luck or a single device; you are giving yourself a clearer, calmer path back to your dog.