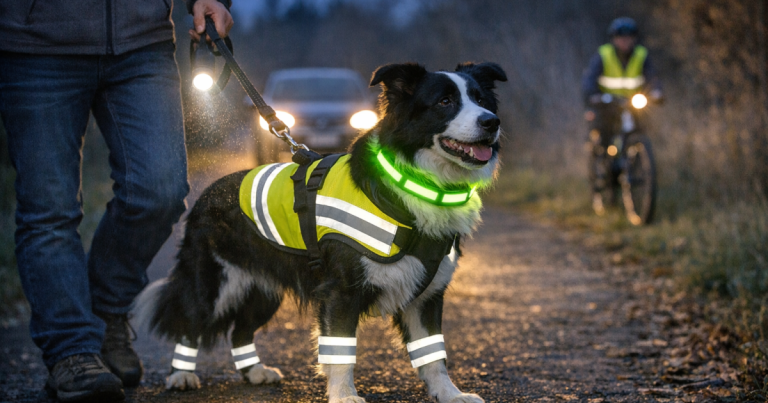
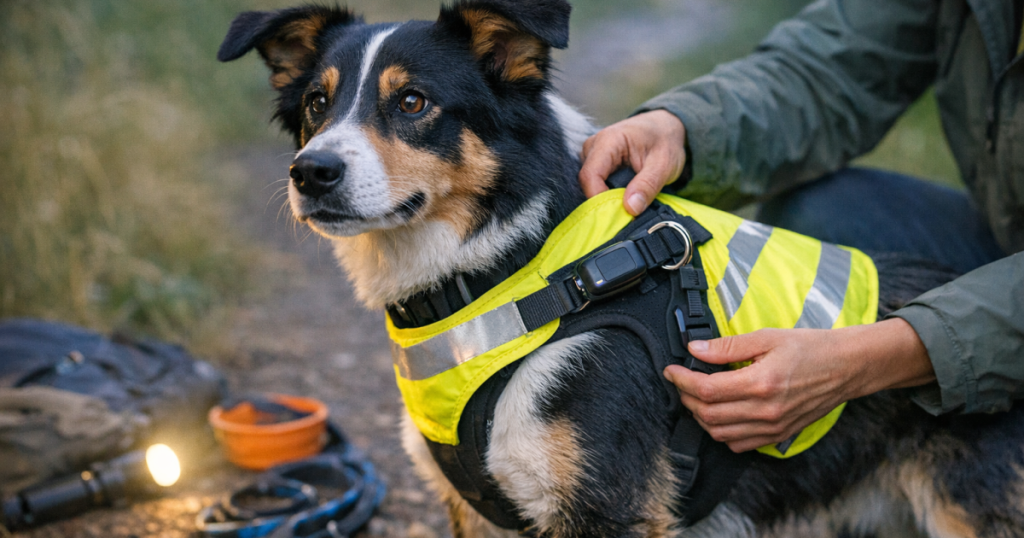
A reflective layer only helps if it stays visible, sits flat, and does not interfere with the leash, collar, or GPS tracker. For reflective vests for dogs, the safest fit over a harness is usually a high-visibility vest that rides above the harness straps while leaving the leash attachment point fully exposed. The goal is simple: brighter outline, normal movement, and no new escape point.
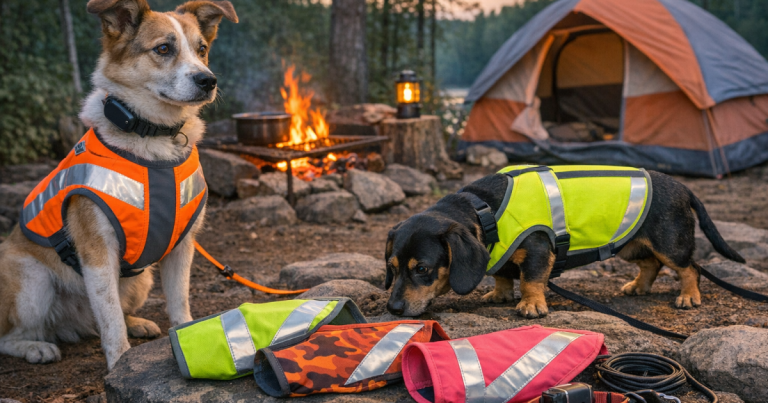
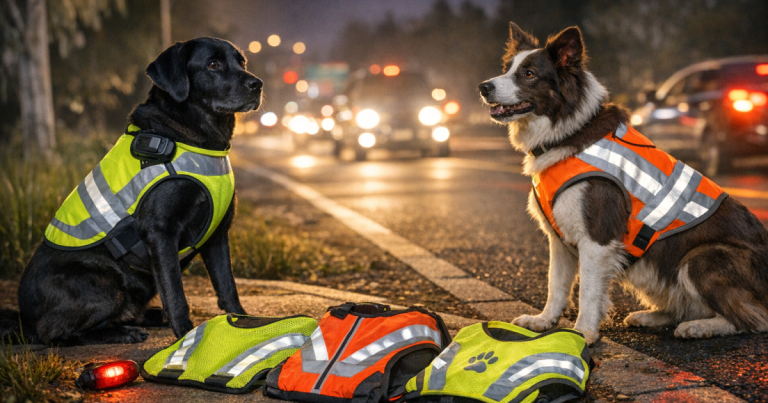
This matters most in the ordinary moments that turn stressful fast: a dusk walk near traffic, a road-trip potty stop, a campground loop after dark, or a nervous dog backing away from a leash. A vest should add visibility without changing the way your dog’s regular restraint system works.
The short version
Fit the harness first, then layer the reflective vest over it. The vest should cover your dog’s back and sides, but it should not cover the leash clip, tighten across the throat, slide over the shoulder joints, press into the armpits, or hide a GPS collar in a way that affects comfort or signal.
- Use the harness as the base layer because it is the restraint point.
- Place the reflective vest on top only after the harness is adjusted correctly.
- Keep the leash attachment point visible and easy to reach.
- Check that the vest does not pull the harness backward or sideways.
- Watch your dog walk, turn, sniff, sit, and shake before trusting the setup near traffic.
The best reflective dog vest for wearing over a harness is one that gives a clean, bright outline without fighting the harness underneath. Thin, adjustable vest styles are usually easier to layer than stiff coats, bulky insulated jackets, or garments with narrow neck openings.
Step 1: Start with the harness fit before adding visibility gear
A reflective vest cannot fix a poorly fitted harness. Before adding the top layer, check the harness the same way you would before any walk where your dog might pull, freeze, or try to reverse out.
The harness should sit in its intended position on the chest and torso. The front should not ride high into the throat, and the rear strap should not sit so far back that it rubs the belly. You should be able to fit fingers under the straps, but the harness should not be loose enough for your dog to step through or twist out of it.
This step is especially important for dogs who pull backward, spook at trucks, or plant their feet when they want to go home. If that sounds familiar, it is worth reviewing front-clip harnesses for dogs who pull backward before relying on any visibility layer. The vest is there to help drivers, cyclists, and other walkers see your dog; the harness still does the control work.
Step 2: Choose which layer goes on top
For most dogs, the order should be collar, harness, then reflective vest. The collar holds ID and, in many setups, a GPS tracker. The harness provides leash control. The vest adds visibility.
There are exceptions. Some reflective garments are designed more like harnesses, and some full-coverage coats have leash portals. But when you are using a separate everyday harness, avoid burying the harness clip under fabric unless the vest has a clean opening that does not pull or bunch.
Back-clip harness
With a back-clip harness, place the vest over the harness and line up the opening, slit, or clear gap with the D-ring. Clip the leash through the vest opening only if it allows the leash to move freely. If the leash drags the vest backward every time your dog walks ahead, the opening is in the wrong place or the vest is not the right layering shape.
Front-clip harness
With a front-clip harness, the vest should not cover the front ring or compress the chest strap. Many simple reflective vests work well because they sit mostly over the back and ribs. If the vest has a chest panel, check that it does not block the leash from moving across the front of the dog’s body.
Dual-clip harness
If you use both front and back attachment points, test both with the vest in place. Some dogs walk calmly on a back clip in quiet areas but need a front clip near traffic or distractions. Your reflective setup should support the way you actually handle the dog, not only the easiest part of the route.
Step 3: Position the vest so it cannot create pressure points
Lay the vest over your dog’s back so the brightest or widest visible panels face outward, not folded under straps. Smooth the fabric from shoulders toward the tail, then fasten the belly or side straps without overtightening.
Check four areas closely. First, the neck opening should not press into the throat when your dog lowers their head to sniff. Second, the front edge should not restrict shoulder movement. Third, the belly strap should sit behind the elbows without rubbing the armpits. Fourth, the rear edge should not flip up, twist, or catch on the harness as the dog moves.
Long-backed dogs, deep-chested breeds, and very small dogs can all make layering more complicated. A vest that looks fine while the dog stands still may slide sideways once the leash tightens. If your dog has a narrow chest or a thick coat, do the movement check twice: once in the house, then again outside after a few minutes of walking.
Step 4: Keep GPS collars and ID visible enough to work as backups
Visibility gear should not hide your recovery plan. If your dog wears a GPS collar, tracker collar, or ID tag, make sure the reflective layer does not shove the collar out of position, trap dangling tags uncomfortably, or push a tracker against the jaw or shoulder.
For collar-style GPS units, the device usually needs a stable position rather than sliding under a vest edge or rotating beneath the neck. If you notice the tracker shifting after you add the vest, revisit how to position a dog GPS collar for better signal and comfort before using the layered setup on a busy route.
A reflective vest improves visibility, but it is not a recovery system by itself. On dark walks, road trips, and hiking weekends, it works best as one layer in a stack: secure harness, readable ID, well-positioned tracker if you use one, leash discipline, and a route plan that matches your dog’s behavior.
Step 5: Do a five-minute movement test
Before you head toward a road, trailhead, or parking lot, give the setup a short test in a low-pressure place. A hallway, fenced yard, driveway, or quiet sidewalk is enough.
- Ask your dog to walk forward, then turn both directions.
- Let them lower their head to sniff so you can check neck and shoulder tension.
- Have them sit and stand again; the vest should not pull the harness upward.
- Clip and unclip the leash to make sure the D-ring remains easy to find.
- Gently guide your dog sideways and backward to see whether the vest shifts over the harness.
- Check the setup from 20 to 30 yards away in low light if you can do so safely.
If the vest rolls, twists, or hides the leash clip during this short test, fix it before the real walk. Dogs do not always give obvious signs before a layered setup becomes annoying. Some will simply slow down, scratch, shake off, or start walking crookedly.
Step 6: Adjust for the outing, not just the dog
The right vest fit can change with the setting. A quiet suburban sidewalk has different demands than a wooded trail, a winter rest stop, or a shoulderless rural road.
Near traffic, prioritize broad side visibility and reflective surfaces that can be seen from multiple angles. For more detail on low-light road walking, the guide to reflective dog vests for night walks near traffic breaks down visibility-focused choices and common fit issues.
On trails, the vest should not snag easily on brush or interfere with a pack-style harness. In cold weather, make sure the vest still fits over any insulating layer without squeezing the harness underneath. During travel, practice the full setup before the trip, not at a dark gas station when your dog is already excited or nervous.
Common fit mistakes to avoid
- Putting the vest under the harness. This can hide reflective panels and may create rubbing where the harness straps press the vest into the coat.
- Covering the leash clip. If you have to dig through fabric to attach the leash, the setup is too fussy for an urgent moment.
- Choosing a vest that is too long. A vest that reaches too far back can shift when the dog runs, shakes, or curls to potty.
- Tightening the vest to stop movement. If a vest only stays straight when it is cinched tightly, it is probably the wrong cut for that harness.
- Ignoring coat changes. Fresh grooming, winter coat growth, or weight change can alter how the same vest sits over the harness.
The most reliable setup is the one you can put on correctly when you are tired, it is raining, the dog is excited, and you are trying to get out the door. Simple usually wins.
FAQ
Can a dog wear a reflective vest over any harness?
Many can, but not every vest and harness combination works. The vest must leave the leash attachment accessible and should not pull the harness out of position.
Should the reflective vest go over or under a harness?
In most cases, it should go over the harness. The harness is the restraint layer, while the vest is the visibility layer.
What if the vest covers the back leash clip?
Use a vest with a better-placed opening, switch to a front clip if your harness allows it and your dog handles well that way, or choose a shorter vest.
Can a reflective vest interfere with a GPS tracker?
It can if it pushes the collar or tracker out of position. After layering, check that the tracker sits securely and does not rotate, rub, or get trapped under fabric.
Is a reflective vest enough for off-leash hiking?
No. A vest can make your dog easier to see, but it does not replace recall training, leash control where required, ID, and a realistic recovery plan.
Key takeaways
A reflective dog vest should make your dog easier to see without changing how the harness, leash, collar, or tracker works. Fit the harness first, layer the vest second, keep attachment points clear, and watch your dog move before trusting the setup in a higher-risk place.
For escape-prone dogs, the best safety gear is rarely one item. Visibility helps prevent close calls near roads and in dim light, while secure restraint and backup identification help if something goes wrong. When all of those layers work together, the walk feels calmer for you and more comfortable for your dog.