On a hike, dog hiking leashes do more than keep you compliant with trail rules. They give you a way to interrupt a bad decision before it becomes a lost-dog emergency: a deer bolts, a bike rounds the corner, a campsite gate swings open, or your dog startles at a bridge grate.
The safest leash setup is not always the longest, strongest, or most technical one. It is the one that lets you keep calm physical control while your dog can still move comfortably, breathe normally, and respond to cues in the environment you are actually hiking.
The short version
For most day hikes, the safest starting point is a fixed 4- to 6-foot leash attached to a well-fitted harness, with a backup ID tag and a tested recovery plan. A short leash gives better control in parking lots, trailheads, switchbacks, bridges, and wildlife-heavy areas. Longer lines can be useful in open, low-traffic spaces where they are allowed, but they require more handling skill and can create tangles or trip hazards.
- Best default setup: a fixed 4- to 6-foot leash with comfortable hand feel, sturdy hardware, and a harness that your dog cannot back out of.
- Best for strong pullers: a shorter lead or leash with a second close-control handle, used with a secure harness and steady training cues.
- Best for steady dogs on wider trails: a hands-free waist leash, as long as your dog does not lunge, cross your path, or drag you downhill.
- Best for decompression sniffing: a 10- to 15-foot long line in open areas, away from crowds, wildlife, cliffs, roads, and other dogs.
- Most risky for tight trails: retractable leashes, because they can be hard to shorten quickly and may allow your dog to reach hazards before you can react.
What safer trail control really means
Trail control is not about keeping your dog rigidly beside you for miles. It is about keeping enough connection that you can prevent the predictable mistakes: lunging at wildlife, tangling with another dog, stepping into a bike lane, pulling toward a cliff edge, or slipping a collar when frightened.
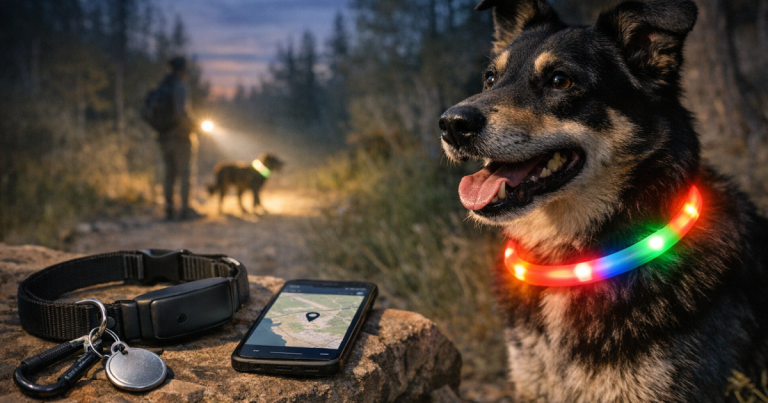
A good hiking leash setup should solve three jobs at once. First, it should give you quick physical control when the trail changes. Second, it should avoid creating pressure points or panic for your dog. Third, it should work with your backup safety layers, such as visible ID, a GPS tracker, and a plan for what you will do if your dog gets loose.
That last point matters. A leash is prevention gear, not a recovery system. A GPS tracker can help after a separation, but it does not stop the separation from happening. A leash, harness, collar, ID tag, and tracker each cover a different part of the risk.
Match the leash to the trail situation
Fixed 4- to 6-foot leash: the safest everyday choice
A fixed leash is the most reliable choice for most marked trails because it gives predictable distance. Your dog cannot suddenly get 15 feet ahead around a blind corner, and you can shorten your grip quickly when passing children, horses, bikes, or another leashed dog.
Choose a width and texture that you can hold securely with gloves or wet hands. A leash that feels fine in your kitchen can burn your palm on a steep descent if your dog surges after a squirrel. If your dog is powerful, look for hardware and stitching that feel appropriate for your dog’s size and strength rather than choosing by appearance alone.
Short traffic handle or close-control lead: useful in crowded moments
A close-control handle near the dog end of the leash can help at trailheads, overlooks, river crossings, boardwalks, and campground loops. You should not need to use it for the whole hike. Think of it as a temporary safety grip for moments when your dog needs to stay close and predictable.
This is especially helpful for dogs that normally walk well but get excited when the environment changes. The goal is not to yank your dog into position; it is to remove extra slack before a situation escalates.
Hands-free waist leash: comfortable only with the right dog
A waist leash can be comfortable on long, steady paths because it keeps your hands free for trekking poles, water, or balance. It is not automatically safer. If your dog darts sideways, lunges downhill, cuts behind you, or reacts to wildlife, that force transfers to your body.
Use a hands-free leash only after you have tested your dog’s behavior on easier routes. Keep one hand ready to grab the line when visibility drops, the grade gets steep, or another trail user approaches.
Long line: more freedom, more responsibility
A long line can be valuable for recall practice, sniff breaks, and giving a dog room to decompress without being loose. On hiking trails, it belongs in specific situations: open sight lines, low traffic, no nearby roads, no cliff edges, and no rules requiring a shorter leash.
Use gloves if the line is thin or your dog is fast. Keep the line out of brush and away from other hikers’ ankles. A long line should never be your default on narrow switchbacks, crowded paths, or wildlife-sensitive areas.
Retractable leash: convenient, but rarely ideal on rough trails
Retractable leashes can feel convenient on neighborhood walks, but they often work against you on trails. The handle can be awkward to hold with wet hands, the line can create tripping or tangling hazards, and the extra distance can let a dog reach wildlife, another dog, or a drop-off before you can shorten the leash.
If you use one at all, reserve it for calm, open, low-risk areas where trail rules allow it and where you can lock it short before hazards appear.
Fit and attachment checks before you leave the parking lot
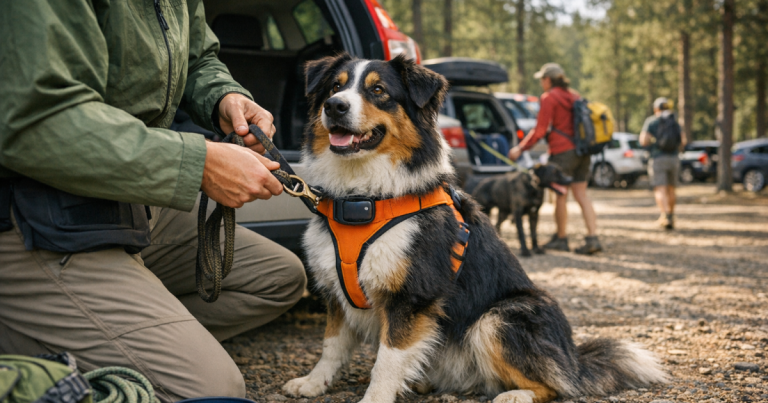
The leash is only as safe as the gear it is attached to. A strong leash clipped to a loose collar can still end in a slipped dog. Before you start walking, take two minutes to check the whole connection from your hand to your dog.
- Harness fit: the harness should sit securely without rubbing behind the front legs or shifting over the shoulders.
- Collar backup: if your dog has a history of backing out, use a well-fitted collar and harness combination rather than relying on one attachment point.
- Clip position: make sure the leash clip is fully closed and not caught on a tag ring or thin accessory loop.
- Leash condition: check for frayed webbing, weakened stitching, cracked leather, rusted hardware, or a gate that does not spring closed.
- Tag noise and snagging: tags should be readable and secure, but not attached in a way that interferes with the leash clip.
If your dog twists, plants their feet, or reverses hard when nervous, review secure collar-and-harness setups for dogs who back out before trusting any leash on a busy trail.
Leash setups for common trail personalities
The excited puller
For a dog that surges toward scents, people, or dogs, start with a fixed leash that gives you a comfortable grip and shortens easily. Avoid adding more length until your dog can respond to cues with distractions present. A longer leash does not give a puller more freedom; it gives them more runway.
The small dog in big terrain
Small dogs need control without heavy hardware bouncing against their chest or neck. Use a leash that feels proportionate to the dog’s body, and pay close attention to clip weight, harness fit, and whether the leash drags on rocks or brush. A tiny dog can still slip gear quickly when startled by a larger dog or loud trail noise.
The scent-driven hound
A scent-driven dog may be calm until a fresh track changes everything. Keep the default leash short enough to interrupt forward momentum. Save long-line sniffing for open areas where you can see the surroundings and manage the line actively.
The nervous traveler
Dogs that are steady at home may behave differently at rest stops, trailhead bathrooms, rental cabins, and campground check-in areas. Use a fixed leash, secure harness, readable ID, and a calm unloading routine before you open the car door. Many trail escapes happen before the actual hike begins.
Where GPS tracking fits into leash safety
A GPS tracker is a backup layer, not permission to take bigger leash risks. Cellular trackers can depend on network coverage, and all trackers depend on battery, fit, and whether the device stays attached to the dog. In remote parks, wooded valleys, and mountain areas, coverage and update behavior can change from one section of trail to another.
Before relying on any tracker for travel or hiking, test it in a controlled setting. A simple backyard GPS accuracy check can show how the device behaves around buildings, trees, fences, and normal movement before you need it under stress.
On the trail, keep the tracker secure, charged, and paired with low-tech backups: an ID tag, recent photos, and a plan for who stays at the last known point if your dog gets loose. Technology helps most when it is part of a routine, not a last-minute hope.
Safety gear that works with the leash
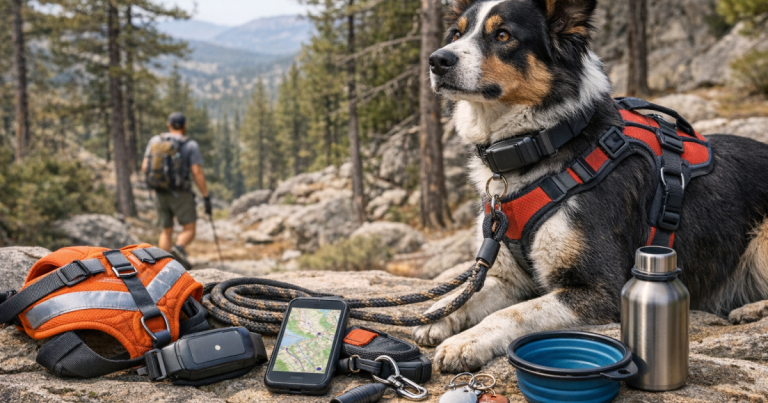
The best hiking safety setup is layered. The leash controls movement, the harness distributes pressure, ID helps a finder contact you, visibility gear makes your dog easier to spot, water and first aid support comfort, and GPS tracking may help with recovery if prevention fails.
- Readable ID tag: use current contact information and check that the tag is still legible before travel.
- Reflective or high-visibility layer: useful at dawn, dusk, campsites, hunting-season areas, and shaded forest trails.
- Portable water: carry more than you expect to need, especially on exposed trails or hot days.
- Dog first-aid basics: include items for minor paw issues, burrs, and small cuts, and know when to turn back.
- Recent photos: keep clear side and face photos on your phone in case you need to describe your dog quickly.
For low light, wooded campsites, and dogs that blend into the landscape, reflective clothing can make a real difference. See the guide to reflective dog vests for camping with escape-prone dogs if visibility is part of your travel routine.
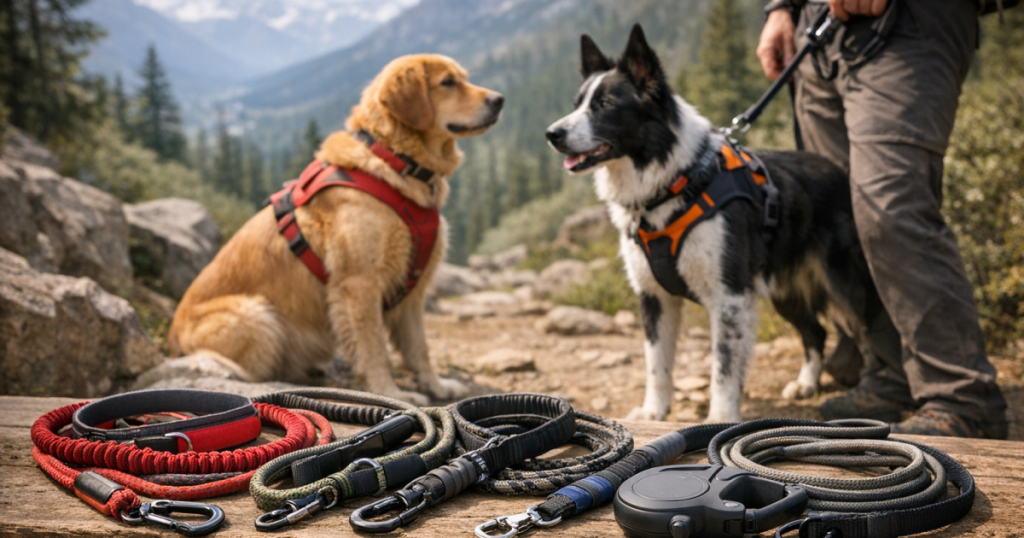
A few leash examples to use as reference points
No single leash is right for every dog or trail, but real examples can help you understand the main styles before you decide what belongs in your pack.
- Fixed trail leash: Ruffwear Knot-a-Leash is an example of a straightforward outdoor leash style to compare when you want simple hand control without extra modes.
- Hands-free option: Ruffwear Roamer Dog Leash is a reference point for owners considering waist-worn walking, but the dog still needs steady leash manners before using this style on uneven terrain.
- Convertible leash: Kurgo Quantum 6-in-1 Dog Leash is an example of a multi-configuration leash to examine if you want one lead for travel transitions, roadside stops, and walking setups.
Use these as comparison anchors, not automatic recommendations. Check the current product details, attachment style, hand feel, hardware size, and return policy before deciding whether a leash fits your dog’s body, strength, and trail behavior.
A 10-minute trailhead safety check
Before the hike starts, run the same short routine every time. Repetition lowers stress and helps you catch small problems before the environment gets busy.
- Before opening the car door: clip the leash to the harness or collar while your dog is still contained.
- At the tailgate: check the leash clip, harness buckles, collar fit, ID tag, and tracker attachment.
- First 100 yards: keep the leash short and watch how your dog reacts to smells, people, dogs, bikes, and noise.
- Before narrow sections: gather slack early instead of waiting until your dog is already ahead of you.
- At water crossings: shorten the leash enough to guide your dog without pulling them off balance.
- During breaks: keep the leash attached even when your dog is resting; picnic areas and overlooks are common distraction zones.
- Back at the car: load your dog before unclipping, especially near roads, parking lots, and other dogs.
Questions people ask
Are hands-free leashes safe for hiking?
Hands-free leashes can be safe for calm, trained dogs on predictable terrain, but they are a poor match for dogs that lunge, chase wildlife, or pull hard downhill. Keep one hand ready to manage the line whenever visibility, footing, or trail traffic changes.
How long should a hiking leash be?
For most trails, 4 to 6 feet is the safest working range because it gives control without keeping your dog unnaturally close. Longer lines are better treated as situational tools for open spaces, not default trail leads.
Should my dog hike on a collar or harness?
Many dogs are safer on a harness because it reduces direct neck pressure and gives a broader attachment point. Dogs that slip gear may need a collar-and-harness backup setup. Fit matters more than the label on the gear.
Key takeaways
The best dog hiking leashes are the ones that match the trail, the dog, and the risk of the moment. A fixed 4- to 6-foot leash is the safest default for most hikes. Hands-free leashes, long lines, and convertible leads can be useful, but only when the setting and your dog’s behavior support them.
Think in layers: secure leash, escape-resistant fit, visible ID, tested GPS backup, water, and a calm trailhead routine. That combination will not make any hike foolproof, but it gives you more chances to prevent a scare before it becomes a search.