The riskiest moment on a hike is often not the steep overlook or the creek crossing. It is the five seconds when you move the leash from collar to harness, clip around a tree, swap handlers, or untangle a line, because that tiny gap is where careful plans can fail. To prevent dog escapes during hiking trips, treat every leash transfer as a controlled handoff rather than a casual clip-and-go.
For dogs with a bite history, severe fear, or repeated bolting, behavior-modification plans should be handled by a qualified force-free trainer or veterinary behavior professional in line with local leash laws and trail rules.
At a glance
- Keep one secure connection attached before you unclip the other.
- Choose transfer spots with distance from roads, drop-offs, wildlife, and other dogs.
- Practice the handoff routine at home, then on quiet walks, before trying it on a busy trail.
- Use equipment as a backup layer, not as a substitute for calm handling.
- Make sure ID and tracking are ready before the hike starts, not after a scare.
Why leash-transfer escapes happen so fast
A leash-transfer escape happens when a dog gets loose during a change in attachment, control, or handler. Common examples include moving the leash from collar to harness, clipping a long line on at the trailhead, changing from one person to another, taking off a backpack, or tethering briefly while you adjust gear.
On trail, dogs are already dealing with more stimulation than they get on a neighborhood walk. Squirrels move. Hikers appear suddenly. A loose dog rounds the bend. Your dog may be excited, tired, thirsty, or frustrated. At the same time, your hands are full and your footing may be uneven. That is a poor moment to rely on one open clip and wishful thinking.
The fix is not complicated, but it does require a routine. A good transfer keeps control continuous: one connection stays live while the second connection is added, checked, and only then becomes the main point of control.
Step 1: Use a two-point handoff whenever control matters
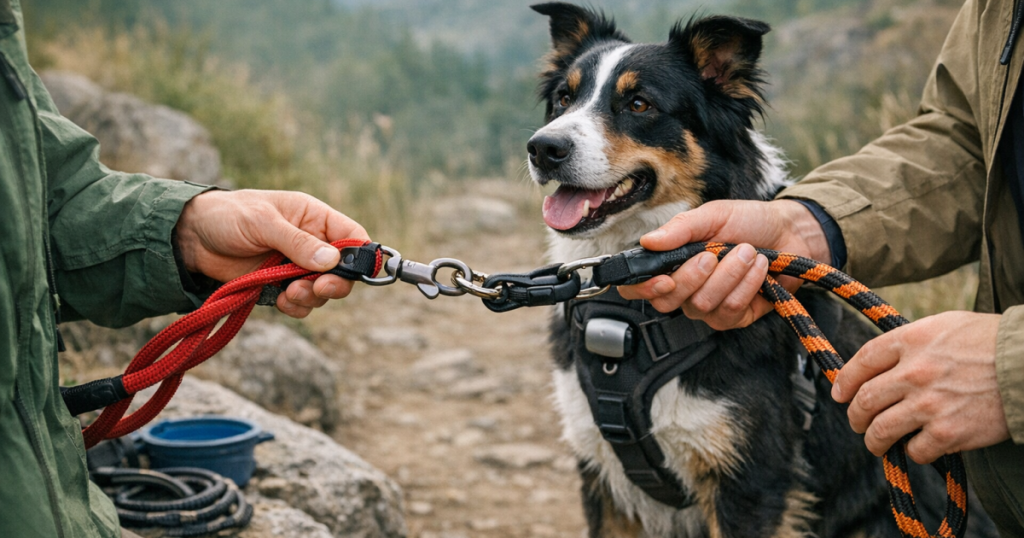
The safest leash transfer is a sequence, not a single motion. Before removing the original leash attachment, add the new one and confirm it is fully clipped to a secure point. Only then should you unclip the first attachment. It is the same principle as closing one gate before opening the next.
For dogs who have slipped collars before, a two-point setup can be especially useful. A leash connected to both a harness and collar gives you a backup if one point loosens or the dog twists at the wrong time. If that is a recurring problem for your dog, our guide to double-ended training leads for dogs who slip collars explains where this style of lead helps and where it does not.
Use this order on trail:
- Stop walking before you start the transfer.
- Shorten the active leash enough to prevent a sudden lunge, without choking or lifting the dog.
- Clip the second attachment point.
- Look and tug-check gently to confirm the clip is closed and attached to the intended ring.
- Move your hand to the new control point.
- Unclip the original point only after the new one is secure.
A rushed clip is how many escapes begin. The dog does not need a full minute of freedom; one clean spin can be enough.
Step 2: Pick transfer spots before you need them
Do not wait until your dog is overexcited to decide where to change gear. On hikes, choose transfer zones the way you choose safe places to pull over while driving: boring is good.
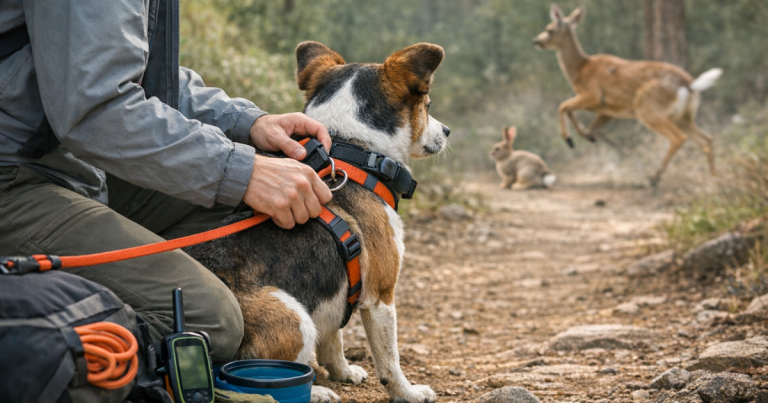
Good transfer spots have space, visibility, and fewer triggers. Move away from parking lots, trailhead gates, road crossings, steep overlooks, creek edges, picnic areas, and narrow switchbacks. If another dog is coming, wait. If wildlife is visible, wait longer. Your dog may be perfectly trained in the backyard and still have strong opinions about a deer.
For handler swaps, both people should stand still. The new handler takes the leash first, confirms control, and then the original handler lets go. Avoid passing a looped handle from fingertips to fingertips while walking. That is not a handoff; that is a coin toss with fur.
Step 3: Teach a small transfer routine
A predictable routine lowers arousal. You are not trying to perform obedience theater on a mountain. You are giving your dog a familiar pattern when the environment is busy.
Choose one cue, such as “wait” or “hold.” Practice it at home with the exact motions you use outside: stop, shorten leash, clip, check, reward, continue. Then practice on a quiet sidewalk, then near mild distractions, and only later on trail.
Reward the pause, not just the movement afterward. Many dogs learn that gear changes mean the fun is about to resume, so they surge forward as soon as your hand moves. Build value into standing still. A calm three-second pause can prevent a long search.
Step 4: Match control gear to your dog’s escape style
Some dogs back out of flat collars. Others twist out of loose harnesses. A few drop their shoulder, reverse hard, and seem to become liquid. The right handling plan depends on the escape pattern.
If your dog backs out of collars, check fit before the hike and avoid transferring control to a flat collar alone near roads or trailheads. A properly fitted harness can help, but harnesses also need adjustment as dogs change weight or coat length. For some dogs, a head halter for a collar-slipping dog may add steering control during tricky moments, but it should be introduced gradually and never used as a hard-yanking tool.
Small dogs bring their own issues. Tiny hardware can be fiddly with cold hands, and bulky gear may shift more easily on a narrow chest. Large, powerful dogs need handlers who can stop, brace, and clip deliberately rather than trying to manage a transfer while being pulled downhill.
Step 5: Add a recovery layer before the hike starts
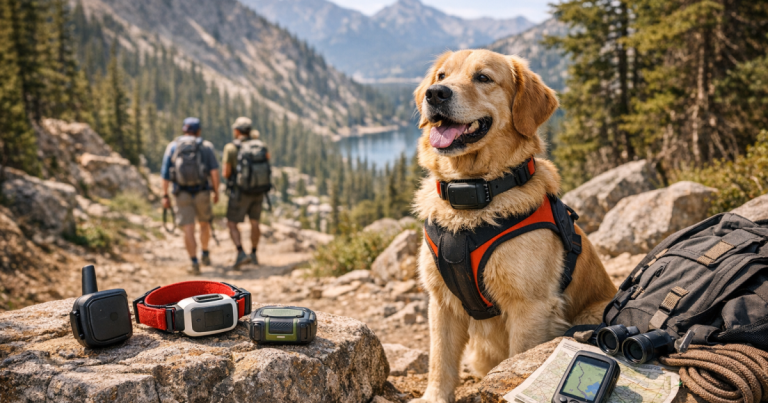
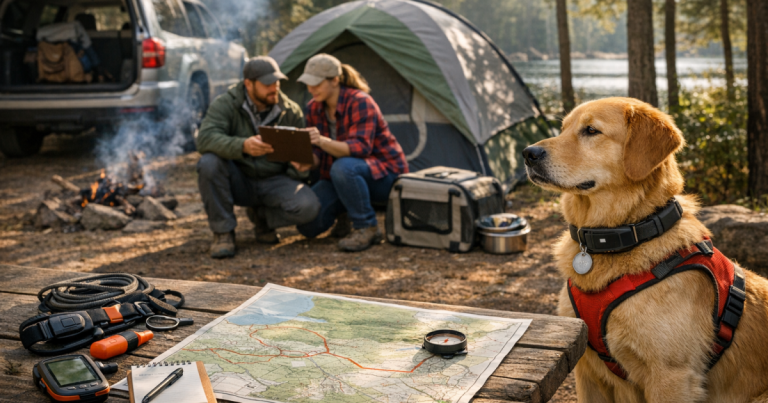
Prevention comes first, but backup identification still matters. Your dog should have readable ID, current contact information, and a tracking plan that matches the trip. A GPS tracker can help with recovery, but it is not a magic leash. Coverage, battery status, terrain, and device placement can all affect how useful it is when a dog is moving.
Before a hiking day, charge the tracker, confirm it is attached securely, and test that location updates make sense in ordinary conditions. If you use a tracker on everyday walks, checking GPS drift on a leashed walk can help you understand how the device behaves before you depend on it in the woods.
Also take a current photo of your dog before the hike. If your dog slips away, a same-day photo with the current collar, harness, and coat condition is more useful than a cute couch photo from months ago.
Step 6: Rehearse the awkward moments
The moments that cause escapes are rarely graceful. Practice the clumsy parts on purpose.
- Clip from collar to harness while holding treats, a water bottle, and a backpack strap.
- Switch handlers while your dog waits on a short leash.
- Move from a standard leash to a long line without ever losing contact.
- Untangle a leash from a low branch while keeping one hand on the active line.
- Pause near mild distractions, reward stillness, and walk on calmly.
Keep sessions short. The point is not to drill your dog into boredom; it is to make the transfer pattern familiar enough that neither of you improvises under pressure.
Trail scenarios that deserve extra caution
Parking lots and trailheads
Dogs often explode with excitement here. Keep the car door closed until the leash is attached, then add any second connection before stepping away from the vehicle. Do not change gear with the hatch open and your dog halfway out.
Creek crossings
Wet rocks, slack lines, and excited dogs are a messy combination. Shorten the leash before the crossing, not during it. If you need to switch attachment points, do it on dry ground.
Lunch stops
Tethering can create false confidence. If you clip your dog to a pack, bench, or tree, keep the dog supervised and confirm the attachment cannot slide loose. Many dogs are calm until a chipmunk files a complaint.
Passing other dogs
Do not transfer leashes while another dog is approaching. Step aside, maintain the current secure connection, and wait until the trail is clear. Even friendly dogs can trigger spinning, lunging, or backing out.
Key questions answered
Should I hike with a collar or harness?
Many dogs do best with both: a harness as the main walking point and a collar carrying ID. For escape-prone dogs, the important part is not choosing one word over the other; it is maintaining a secure connection during every change.
Can a GPS tracker prevent an escape?
No. A tracker is a recovery tool, not physical control. It may help you locate a dog after an escape, but it cannot stop the first bolt. Treat it as one layer alongside training, fit checks, ID, and careful leash handling.
What if my dog panics on hikes?
Shorten the route, reduce difficulty, and avoid crowded trails while you rebuild confidence. Repeated panic, freezing, thrashing, or bolting is a training and welfare issue, not just a gear problem.
What stands out
Leash-transfer escapes are preventable because they usually happen at predictable moments. Slow the handoff down, keep one connection live, practice the routine before the trail gets exciting, and use recovery tools as backup rather than reassurance theatre. The goal is simple: your dog stays attached through the boring little transitions, so the hike remains the adventure you actually planned.