When a dog disappears near woods, fields, desert scrub, lake trails, or a campground edge, the first instinct is to move fast. A dog search trail checklist keeps that urgency from turning into a scattered, unsafe search. The goal is simple: keep people hydrated, protect the dog if found, preserve recovery options, and avoid creating more risk while you cover ground.
Injured-dog assessment, wound treatment beyond basic stabilization, heat illness, dehydration, and medication decisions should be handled by a licensed veterinarian or emergency veterinary team in line with local animal-care regulations and safety requirements.
What to know first
A trail search is not the same as a neighborhood walk. You may be moving over uneven ground, calling into wind, sharing space with wildlife, and trying to read tracker updates while your emotions are high. Pack for the most likely scenarios: the dog is hiding, the dog is moving, the dog is tangled or tired, or the dog is seen but not ready to approach.
Think in layers. The first layer is personal safety for every searcher. The second is dog recovery gear, including water, leash options, identification backups, and low-stress capture items. The third is information: recent sightings, tracker history, map screenshots, and a plan for who checks which route.
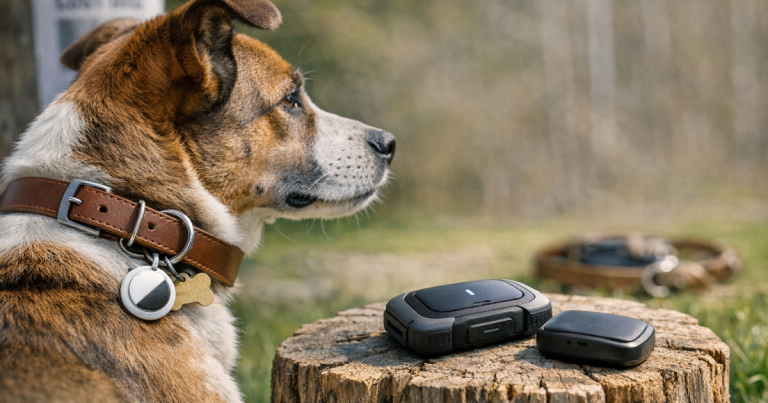
Do not rely on one tool. A GPS tracker, Bluetooth tag, printed flyer, whistle, leash, and ID tag all solve different problems. A tracker may help you narrow the search area, but terrain, network coverage, battery condition, app settings, and the dog’s movement can all affect how useful it is in the moment.
Step 1: Set the search boundary before you step onto the trail
Before anyone starts hiking, choose a command point: a parked car, trailhead sign, campsite, ranger station, or driveway with permission. This is where extra water, printed information, spare leashes, and phone chargers stay. It also prevents everyone from chasing scattered tips in different directions.
Assign search zones by terrain, not just distance. One person might cover the creek line, another the campground loop, another the fence row, and another the road shoulder. Lost dogs often follow edges, shade, scent trails, livestock fencing, drainage lines, or familiar human routes. Covering those features deliberately is more useful than wandering in widening circles.
- Write down the last confirmed location, time, direction of travel, and any trigger such as thunder, fireworks, wildlife, or a door-dash escape.
- Mark hazards before searching: highways, steep drops, cattle guards, ponds, coyote-heavy areas, hunting zones, and private property boundaries.
- Decide who handles incoming calls or texts so searchers are not constantly stopping to manage updates.
- Take screenshots of maps and tracker history in case cell service fades on the trail.
Step 2: Pack water for people and the dog you hope to bring home
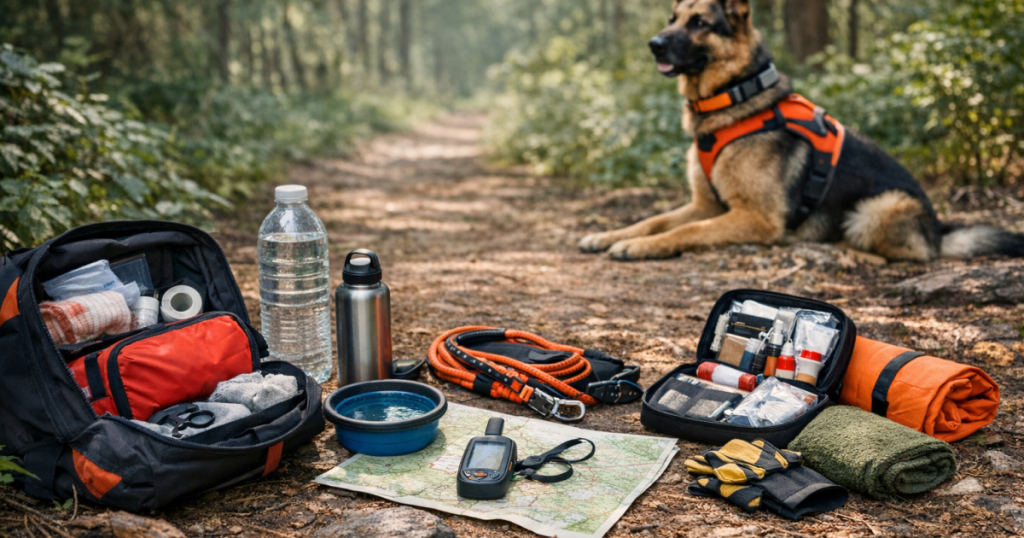
Hydration is the first thing to get wrong during a stressful search. In warm weather, at elevation, or on exposed trails, searchers may need more water than they would on a normal hike. Pack more than feels convenient, especially if the missing dog may be overheated, muddy, or too stressed to drink from an unfamiliar source.
A portable dog water bottle or collapsible bowl helps if the dog is found but hesitant to approach. Offer water calmly and low to the ground. Avoid crowding the dog, pouring water over the dog, or trying to force drinking. If the dog appears weak, disoriented, vomiting, severely overheated, injured, or unable to stand, treat that as an emergency and get veterinary help promptly.
- Carry water for each searcher, plus extra for the dog.
- Use a lightweight bowl that can sit on the ground without tipping easily.
- Pack electrolyte products only for people unless a veterinarian has directed otherwise for the dog.
- Bring a towel or cooling cloth, but avoid extreme temperature changes that could shock an overheated dog.
- Keep a larger refill container at the command point if the search may last more than an hour or two.
A named bottle-and-bowl product such as the Kurgo Gourd Water Bottle and Bowl is one example of the type of compact hydration setup that can make trail searching less clumsy. The specific brand matters less than having water that is easy to offer without fumbling.
Step 3: Build a small first-aid kit for search conditions
Your first-aid supplies should cover two realities: human searchers may get scraped, stung, sunburned, or dehydrated, and the dog may be found with paw damage, burrs, ticks, bleeding, or exhaustion. The kit is not a substitute for emergency care. It is a bridge that helps you stabilize the situation long enough to get off the trail safely.
Human searcher basics
- Adhesive bandages, gauze, tape, antiseptic wipes, blister pads, and tweezers.
- Insect repellent, sunscreen, and any personal medications searchers may need.
- A small headlamp or flashlight, even if the search starts in daylight.
- Work gloves for brush, fencing, and carrying items without cutting your hands.
- A charged phone and backup power bank stored in a dry bag or zip-top bag.
Dog-focused basics
- Roll gauze, self-adhering wrap, and clean pads for temporary paw or wound coverage.
- Slip lead or leash that can be placed without grabbing at the collar.
- Soft towel or small blanket for warmth, restraint, or gentle transport.
- Tick remover and tweezers for surface debris after the dog is secure.
- Recent photo, microchip number, and veterinary contact information.
A compact canine trail kit such as the Adventure Medical Kits Adventure Dog Medical Kit – Trail Dog can be a useful starting point, but check what is inside before relying on it. Add the items your dog’s size, health, coat type, and search environment make most important.
Step 4: Bring recovery gear that does not scare the dog away
Many lost dogs do not behave like their normal selves. A friendly dog may freeze, circle, bolt, or ignore familiar voices. A fearful dog may move farther away if several people call, clap, chase, or shine lights directly at them. Your gear should help you slow the moment down.
- Use a slip lead, backup leash, or martingale-style setup so you are not depending on a loose collar.
- Carry high-value, strongly scented food in a sealed bag, then open it only when needed.
- Pack a familiar blanket, bed cover, or worn T-shirt to create a scent point near the last known area.
- Bring a small can of wet food or soft treats if the dog is hungry but too stressed for crunchy treats.
- Avoid squeaky toys or loud recall tools unless you already know they calm your dog rather than excite or frighten them.
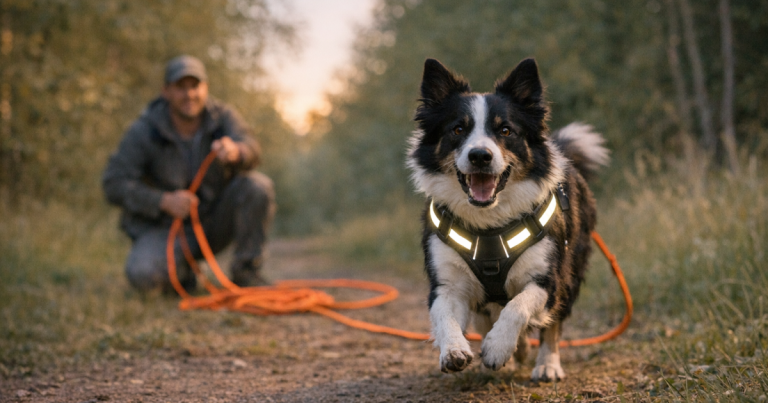
If the dog is spotted, resist the urge to run directly toward them. Sit or crouch sideways, soften your voice, and let food or scent do some of the work. For dogs with poor recall, a reflective harness and long line can also be part of safer prevention once the dog is home; this guide to using a reflective harness and long line for safer recall practice explains that setup in more detail.
Step 5: Make visibility work for dusk, brush, and roadside edges
Dog searches often stretch later than expected. Visibility gear helps drivers see searchers, helps search teams keep track of one another, and can make a recovered dog safer on the walk back. Reflective vests, clip-on lights, and headlamps are not just nighttime gear; they are useful in dense woods, rain, fog, and shaded trail systems.
- Give every searcher a light source and a reflective item.
- Use red or low light when you are near a skittish dog, then brighter light only when needed for footing or safety.
- Keep a spare collar light or reflective leash in the recovery pack.
- Do not send searchers onto road shoulders without visibility gear and a clear traffic-safety plan.
A wearable light such as the Nite Ize NiteHowl Rechargeable LED Safety Necklace is the kind of visibility accessory some owners keep in a car kit for evening walks and emergency recovery. Fit and comfort still matter, especially for small dogs, thick-coated dogs, and dogs who panic when something new is placed over their head.
Step 6: Treat tracker data as a clue, not a guarantee
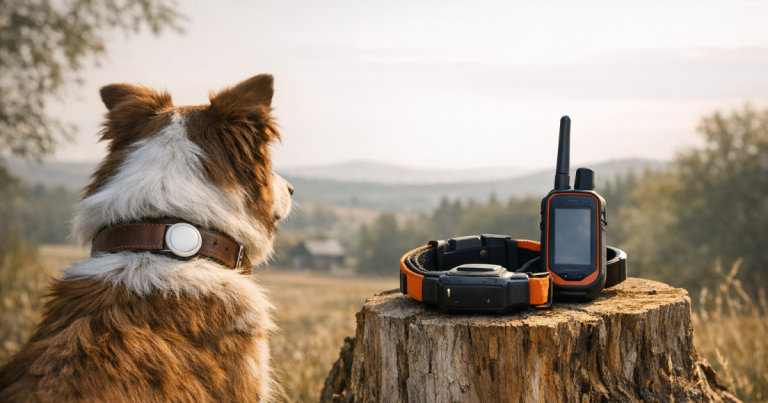
If your dog is wearing a GPS collar or tracker, use it to narrow decisions rather than to replace search judgment. Check the last update, movement direction, update frequency, and whether the location makes sense with the terrain. A dot near a trail may mean the dog is on the trail, under tree cover nearby, near a road edge, or simply last seen there by the network.
For remote properties, backcountry cabins, ranch edges, and low-signal areas, tracker choice matters before the emergency ever happens. If your searches commonly involve rural or remote terrain, compare options such as the Fi Ultra Dog Tracker while paying close attention to coverage dependence, attachment style, fit, and the way you would actually search if your dog crossed a fence line.
- Screenshot the latest location before leaving strong service.
- Bring a power bank and the charging cable that matches your phone.
- Do not assume a silent app means the dog is stationary; it may mean coverage, battery, or refresh limitations.
- Use sightings, paw prints, barking, trail cameras, and neighbor reports alongside tracker data.
Step 7: Prepare for hotels, campsites, and road-trip search zones
Many trail searches begin away from home. A dog slips a harness at a trailhead, bolts from a motel door, jumps from a campsite, or runs during a rest stop. In those situations, the search kit should live in the vehicle, not back at home in the garage.
Before a trip, test your tracker and recovery routine in the kind of place where mistakes are common: around cabins, campground loops, parking lots, and unfamiliar lodging. The checklist in how to test your dog tracker at a hotel or campsite is a useful companion because it focuses on the exact conditions that make travel escapes so stressful.
- Keep a printed photo and phone number in the glove box.
- Pack a spare leash, slip lead, ID tag, and towel where you can reach them quickly.
- Save local animal control, nearby emergency vets, park offices, and campground host numbers when you arrive.
- Walk the perimeter before dark so you know the exits, water hazards, roads, and fenced gaps.
Step 8: Use calm search behavior once the dog is nearby
The moment you see the dog is when preparation matters most. Too many searchers, loud voices, or direct pursuit can push a frightened dog into traffic or deeper cover. Shift from searching to recovery. One calm person should take the lead while others step back, block hazards from a distance, or stay ready with supplies.
- Do not chase unless the dog is in immediate danger and there is no safer option.
- Turn your body sideways, lower your posture, and avoid hard eye contact.
- Place food on the ground and let the dog close distance voluntarily when possible.
- Clip the leash only when you can do it smoothly without lunging.
- Once secured, check breathing, limping, bleeding, overheating, and collar fit before walking out.
Step 9: Reset the kit after every search or practice run
Preparedness fades when the kit gets raided for normal walks. After each search, hike, or drill, refill water containers, replace used bandages, recharge lights, wash bowls, and restock food. Check expiration dates on first-aid items and make sure phone numbers are current.
It also helps to practice one low-stress search drill before you need it. Hide a leash in your pack, open the tracker app, take a map screenshot, set a meeting point, and walk a short route as if you were responding to a real alert. That rehearsal makes the real day feel less chaotic.
Things readers ask
How much water should I bring for a dog search?
Bring more than you expect to use. For short searches, carry water for each person plus extra for the dog. For hot weather, steep terrain, or searches beyond a mile or two, keep additional water at the command point or in the vehicle so teams can refill without ending the search.
Should I bring a crate or carrier on a trail search?
If the dog is small, injured, elderly, or likely to collapse after being found, a soft carrier, crate, or sturdy blanket can help with transport from the trail to the vehicle. For large dogs, plan who can help lift and what route avoids steep or unstable ground.
Is calling my dog’s name helpful?
Sometimes, but not always. If your dog is confident and searching for you, a familiar voice may help. If the dog is panicked, newly rescued, noise-sensitive, or in survival mode, repeated calling can push them farther away. Use calm voice, scent, food, and patient positioning.
What stands out
The best trail search kit is not the biggest pack; it is the pack that helps you make calm decisions under pressure. Water, first-aid supplies, a slip lead, visibility gear, food, map access, phone power, and current dog information cover the situations most owners actually face outdoors.
Keep this dog search trail checklist in your vehicle, review it before hikes and trips, and adjust it for your dog’s size, health, escape style, and local terrain. A prepared search does not guarantee the outcome everyone wants, but it gives you more ways to respond clearly when every minute feels loud.