A nervous dog can reverse out of loose gear in seconds, usually at the exact moment your hands are full and your stomach drops. For a nervous dog, an escape-resistant harness is not about restriction; it is about buying time when panic, noise, traffic, or a strange place overwhelms training.
The right choice starts with body shape, strap layout, and a calm fitting routine. No harness is magic, but the right setup can turn a near miss into a recoverable wobble instead of a lost-dog search.
The big picture
Choose the harness for the dog in front of you, not for the cleanest product photo. A shy foster dog, a newly adopted street dog, a noise-sensitive terrier, and a deep-chested sighthound may all need different levels of security and comfort.
- Prioritize strap security: A nervous dog needs a design that is harder to back out of than a basic walking harness.
- Check the neck opening: If the shoulder area is too loose, the dog can plant their feet, pull backward, and slide free.
- Protect movement: Security should not mean chafing, pinching, or blocking normal shoulder motion.
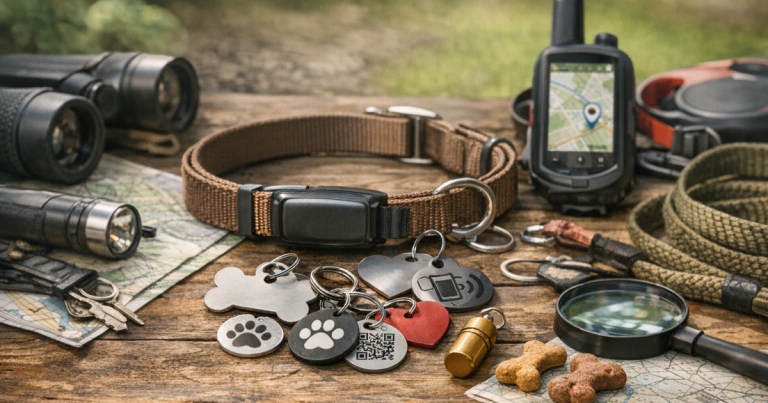
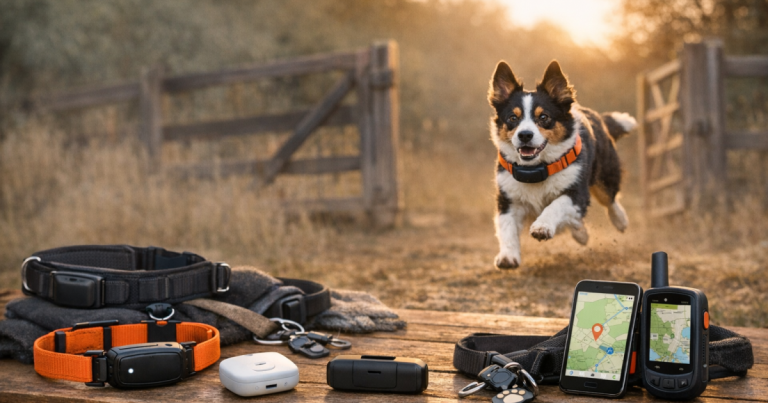
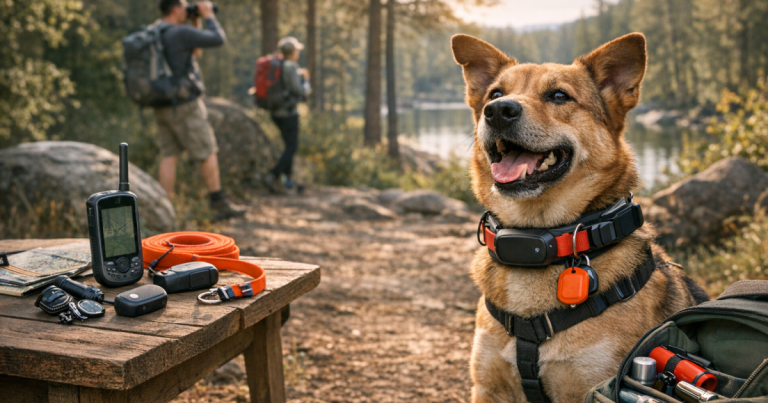
- Use backups: A collar, ID tag, leash backup, and tracker can matter if one piece of gear fails or is fitted wrong.
- Practice before pressure: Fit and handling should be rehearsed indoors or in a quiet yard before you test the real world.
What an escape-resistant harness can and cannot do
An escape-resistant harness is a harness designed to make backing out, twisting free, or slipping through the neck opening more difficult. It does not make a dog impossible to lose. A frightened dog can still chew, bolt through a loose leash hand, panic at a buckle sound, or slip through a door before gear is attached.
The goal is to add friction at the moment your dog tries to flee. That extra second or two matters. It gives you time to step on a leash, shorten your grip, move away from the trigger, or guide the dog behind a car, fence, porch post, or other barrier. It is not glamorous, but neither is sprinting through a parking lot with one shoe untied.
Step 1: Read the escape pattern first
Before comparing harnesses, identify how your dog actually gets loose. A harness that solves one escape style may do little for another.
- The backward slider: This dog plants their front feet, lowers their head, and reverses until the harness comes over the shoulders. Look for a more secure body design with an additional strap behind the ribcage.
- The spinner: This dog twists, rolls, or corkscrews under leash pressure. Focus on stable fit, multiple adjustment points, and a leash attachment that does not pull the harness sideways immediately.
- The sudden bolter: This dog explodes forward at a sound, stranger, dog, or open space. You need secure fit, strong leash handling, and a backup connection, not just a sturdier-looking harness.
- The door dasher: This dog escapes before walks even begin. Harness choice helps, but household routines, gates, and pre-walk management matter just as much.
If your dog is newly adopted or already known as a flight risk, build the whole setup around prevention from day one. The gear order in set up gear for newly adopted flight-risk dogs is a useful companion to this harness decision.
Step 2: Choose the harness shape that matches the risk
Basic walking harness
A basic walking harness can be fine for a settled dog who does not panic, reverse, or fight leash pressure. For a nervous escape risk, it is usually the least forgiving option. Many simple designs rely on a neck opening and a girth strap. If either one is loose, a determined dog may be able to reverse out.
Y-front harness
A Y-front shape can be a good everyday starting point when it allows natural movement and sits cleanly across the chest. The key is not the letter shape alone; it is whether the neck, chest, and girth areas can be adjusted closely enough for your dog’s body. A narrow dog with a deep chest may need more security than a broad, compact dog.
Multi-strap harness
For dogs who back out of gear, many owners look at a multi-strap harness with an extra body strap behind the deepest part of the ribcage. That rear strap can make it harder for the dog to slide the whole harness forward and over the shoulders. Real designs people often compare in this category include Ruffwear Web Master Harness and Ruffwear Flagline Harness, though fit still matters more than the brand name on the label.
Do not assume more straps automatically means safer. More contact points can also mean more rubbing, more heat, and more fuss during dressing. If your dog freezes when gear touches their sides, the most secure design on paper may be too stressful unless you introduce it gradually.
Step 3: Fit it like your dog is going to test it
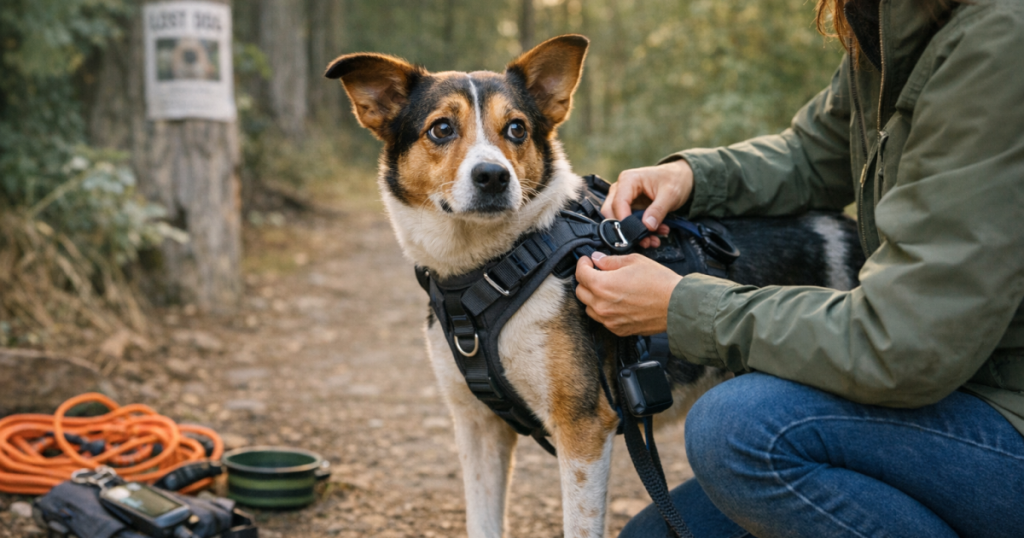
A harness should be snug enough that it cannot rotate wildly or slide over the shoulders, but not so tight that it pinches, restricts breathing, or rubs behind the front legs. Follow the manufacturer’s size chart, then do your own escape checks with the dog calm and supervised.
- Neck check: The neck opening should sit securely at the base of the neck and chest, not gape forward when the leash is gently pulled.
- Girth check: The main body strap should stay behind the front legs without creeping into the armpits.
- Rear strap check: On multi-strap designs, the rear strap should sit on the body, not on the soft belly or so far back that it interferes with movement.
- Rotation check: Clip the leash and apply gentle pressure from the front, side, and slightly behind. If the harness spins easily, adjust it or reconsider the size.
- Coat check: Thick winter coats and fresh grooming can change fit. Recheck adjustment after big coat changes, weight changes, or seasonal gear swaps.
For small dogs, watch hardware size and strap bulk. For large dogs, check that the harness does not slide around under sudden pressure. For deep-chested breeds, do not rely on the chest measurement alone; the shoulder and neck opening are often where escapes begin.
Step 4: Introduce the harness before the scary walk
A nervous dog may distrust the harness long before they try to escape from it. Let them sniff it. Touch it to the shoulder, reward, and remove it. Clip one buckle, reward, unclip. Keep the first sessions boring and short.
Once the harness is on, do not immediately head for the busiest sidewalk in the neighborhood. Start indoors, then a fenced yard, then a quiet driveway or calm street. Watch for freezing, frantic scratching, tucked posture, or attempts to bite the straps. Those signals do not mean the harness is wrong every time, but they do mean you need to slow the process down.
Step 5: Build a backup leash system
For high-risk dogs, one attachment point is a thin plan. Many owners use a harness plus a properly fitted collar, then connect both with a double-ended leash or a short safety strap. The idea is simple: if one piece shifts, opens, or slips, the other may give you another chance to keep contact.
A long line can also help during training in open areas, but only when used thoughtfully. It is not a drag rope for busy sidewalks or parking lots. If your dog has a history of slipping gear during recall work, compare safer options in long lines for dogs who slip collars during training before heading into a park or trail area.
Attach ID to the collar, not only the harness. Harnesses come off at home, at the groomer, during vet handling, and sometimes during a muddy roadside cleanup. A visible ID tag is still one of the fastest ways for a neighbor to help if your dog is found.
Step 6: Test the full setup before travel, hiking, or daycare
Do a controlled test before trusting the harness in a stressful setting. With your dog calm, clip the leash, stand still, and apply gentle backward tension. Do not yank. Watch whether the harness moves toward the head, rolls to one side, or gaps at the shoulder.
Then test normal movement: walking, turning, sniffing, stepping into the car, and lying down. If the harness rides into the armpits or shifts when the dog bends to sniff, fix it before the big outing.
If you use a GPS tracker, check placement on the actual harness your dog will wear. A tracker that sits awkwardly, pulls the harness sideways, or knocks against the chest can create new irritation. Before relying on it outside your usual route, test a dog GPS tracker on a harness under calm conditions.
Questions people ask
Can any harness be truly escape-proof?
No. “Escape-proof” is too strong for real dogs in real panic. A better standard is escape-resistant: secure enough to reduce common slipping methods, comfortable enough that the dog will tolerate wearing it, and backed up with ID, leash handling, and recovery tools.
Should a nervous dog wear a collar with the harness?
Usually, yes, as long as the collar is properly fitted and safe for the dog’s body and behavior. The collar gives you a place for ID and can serve as a backup connection. Avoid relying on a loose collar for leash control if the dog has already learned to back out.
Is a front-clip harness enough for an escape-prone dog?
A front clip can help with leash direction for some dogs, but it does not automatically prevent escape. Strap layout, adjustment range, neck security, and your backup connection matter more for nervous dogs who reverse, spin, or bolt.
What if my dog panics when I put the harness on?
Pause the fitting process and return to shorter, easier steps. Put the harness near food, touch it briefly to the body, reward calm behavior, and build up gradually. If the dog becomes frantic, aggressive, or impossible to handle safely, work with a qualified trainer or veterinary behavior professional.
What stands out
The best harness for a nervous dog is the one that fits securely during the exact escape move your dog is most likely to try. For many flight-risk dogs, that means a snug, adjustable design with more body security than a basic step-in harness, plus a collar, ID, backup leash connection, and a practiced routine.
Buy for the bad moment, not the calm photo in the hallway. When the garbage truck bangs, the trailhead gets crowded, or a hotel door opens too quickly, your gear should give you time to respond instead of asking your dog to make perfect choices while scared.