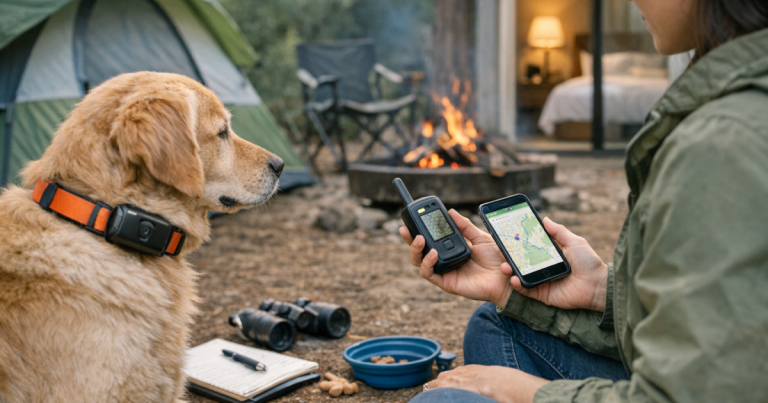
A tracker can make off-leash time feel less nerve-wracking, but it should earn your trust before the gate opens. Testing GPS dog tracker accuracy at home tells you whether the map, alerts, attachment, and battery behavior match the way your dog actually moves. The goal is not perfection; it is knowing what the device can and cannot do before your dog is sprinting toward woods, water, traffic, or another dog.
Do the first checks in controlled places: your yard, a quiet sidewalk, a fenced field, or a familiar trail entrance. Never turn a new tracker into a real escape test. Carry it yourself, keep your dog on a leash or long line, and build confidence one low-risk step at a time.
The short version
To calibrate a dog GPS tracker, fully charge the tracker, confirm the app is synced, attach it to the collar or harness exactly as you plan to use it, then take it outside under open sky and let it settle before moving. Walk a known route, compare the app location to visible landmarks, test safe-zone or escape alerts by crossing a boundary yourself, and repeat the test in the real environment where your dog may go off leash.
A tracker is ready for off-leash support only when it stays attached securely, updates in a pattern you understand, places the dog close enough to guide a search, and sends alerts fast enough for the setting. If the location jumps across streets, fails in your usual walking area, drains unexpectedly, or depends on a weak cellular signal, treat it as a backup tool rather than a primary safety plan.
- Test the tracker while stationary, walking, and crossing a boundary.
- Use a leash, long line, fenced space, or carry the tracker yourself for drills.
- Check the same route more than once, including the time of day you usually walk.
- Confirm collar fit and attachment before judging the map.
- Pair the tracker with ID tags, recall practice, visibility gear, and a real recovery plan.
What “accuracy” really means with dog trackers
Dog owners often think accuracy means the blue dot should sit exactly on the dog at every second. In real life, most pet trackers are affected by satellite visibility, cellular coverage, app refresh timing, battery-saving modes, tree cover, buildings, hills, and how the tracker sits on the collar. That is why a home test matters more than the marketing language on the box.
For off-leash planning, accuracy is practical rather than mathematical. Can the tracker keep your dog on the correct side of the road? Can it show whether your dog turned toward the trailhead or down toward the creek? Does it alert you before a fence-jumper is already far beyond the property line? Those are the questions that matter when your dog is moving fast and your adrenaline is up.
Calibration is also not a one-time magic setting. Some devices use app-based setup, some use safe zones, some rely on cellular networks, and some hunting-style systems pair handheld units with collar devices. Your job is to make sure the tracker, phone, app permissions, collar fit, and environment are working together before you trust the setup in an off-leash moment.
Step 1: Set up the tracker exactly as it will be used
Start with the boring details, because they are the details that prevent false confidence. Charge the tracker fully, open the app, confirm the tracker is connected, and complete any required setup prompts. If the app offers updates or permissions, handle them before the test rather than while you are standing at a trailhead with an excited dog.
Attach the tracker to the same collar, collar mount, or harness position you plan to use during off-leash time. A tracker that swings under the throat, rotates to the side, or rubs against hardware may perform differently than one seated firmly on the back or side of the neck. It can also become uncomfortable or vulnerable to impact when a dog rolls, wrestles, or pushes through brush.
If you have a dog who backs out of collars, slips harnesses, or barrels through undergrowth, fit is part of the accuracy test. The best map in the world is not helpful if the tracker is lying in the grass. For attachment-focused checks, the guide to secure GPS tracker collar attachment is a useful next step before you move into harder field tests.
Step 2: Establish a calm outdoor baseline
Take the tracker outside before you begin walking. Choose a spot with as much open sky as your home or park allows, then wait long enough for the app to show a stable location. Do not start judging accuracy while the device is still waking up, syncing, or moving between indoor and outdoor positioning.
Stand still near an obvious landmark: a driveway, mailbox, park sign, fence gate, or trail kiosk. Open the tracker app and check whether the location makes sense. The pin does not need to sit on your exact shoes, but it should not place you across a busy road, behind a different row of houses, or deep in a wooded area you are not near.
If the first reading is wildly wrong, wait a little longer and refresh only as the app allows. Repeatedly closing and reopening the app can make you feel busy without giving the tracker a fair test. If the location remains unreasonable in a place where you normally expect coverage, make a note and do not move to off-leash use yet.
Step 3: Walk a known route and compare the map to reality
Once the tracker looks stable while still, walk a simple route you know well. A loop around the block, a path around a fenced ball field, or a short out-and-back on a neighborhood trail works well. Keep your dog leashed or carry the tracker yourself if you are testing before a dog park visit.
At three or four points, stop and compare the app to what you can see. Use landmarks instead of trying to measure inches: the corner hydrant, the second trail bench, the parking lot entrance, the creek crossing. The question is whether the tracker shows your path in a way that would help you choose the right direction during a search.
For a more realistic drill, have one person carry the tracker while another watches the app from the starting point. The person carrying the tracker should walk a simple route, pause, turn around, and move behind light cover such as trees or parked cars. This gives you a low-stress look at update timing and map behavior without putting your dog at risk.
Step 4: Test safe zones and boundary alerts without using your dog as the test subject
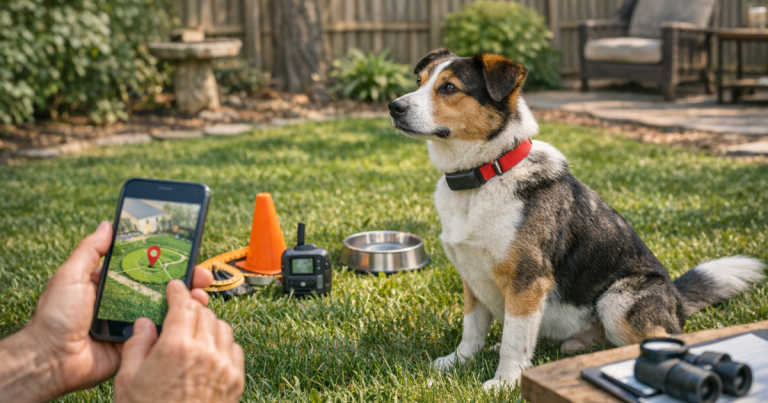
If your tracker uses safe zones, virtual fences, or escape alerts, test those features before relying on them. Set up the boundary in the app, then have a person carry the tracker across it while another person watches for the alert. Use a quiet area away from traffic so you are not rushing the process.
Do not make the boundary so tight that normal GPS drift triggers constant false alerts. Tiny yards, narrow lots, apartment courtyards, and dense neighborhoods can be challenging because the tracker may briefly place the dog just outside the boundary even when the dog is safe. A slightly larger safe zone may be more useful than a perfectly drawn line that panics you all afternoon.
During the drill, write down what happens: when the boundary is crossed, when the alert appears, whether the map points you in the correct direction, and whether the alert behaves the same on a second attempt. The delay does not automatically mean the tracker is bad, but you need to know that delay before allowing off-leash freedom near roads, open gates, livestock, or heavy woods.
Step 5: Repeat the test where off-leash time will actually happen
A tracker that behaves well in a suburban yard may act differently on a wooded trail, a rural property, a beach parking area, or a campground. Before off-leash time, repeat a shorter version of your test in the real location: stationary check, short walk, landmark comparison, boundary or distance check, and battery review.
Pay close attention to environmental changes. Tree canopy can interfere with satellite view. Ravines and hills can affect signal. Remote areas may limit cellular-based updates. Crowded parks can create distractions that make your dog move faster than your test route. This is why a calm driveway test is necessary but not enough for hiking, camping, or field work.
For trail days, think beyond the tracker. Bring a leash or long line, current ID, water, visibility gear, and a plan for what you will do if the app stops updating. The checklist of dog hiking safety gear for escape-prone dogs pairs well with tracker testing because off-leash reliability is never just a device question.
Step 6: Run a recovery drill before you trust the setup
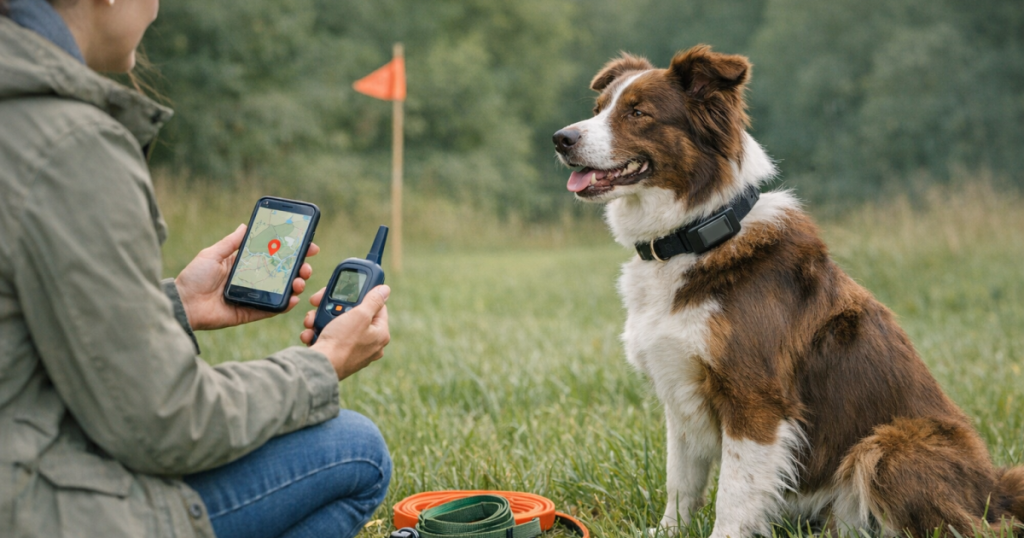
A recovery drill teaches you how you will behave when your dog is not beside you. Keep the dog safely leashed or leave the dog at home and carry the tracker yourself. Choose a simple route with one turn, then have the app-watcher try to follow the tracker without being told the route in advance.
This drill exposes practical problems fast. Maybe the phone volume is too low for alerts. Maybe the app is buried behind other notifications. Maybe the tracker updates well on open sidewalks but stalls behind buildings. Maybe the map is good enough, but you need a second person to drive while one person watches the app.
Practice the first two minutes of a lost-dog response: stop, check the last known point, move calmly toward the direction of travel, call only if your dog reliably returns to your voice, and avoid chasing if that makes your dog run harder. The tracker helps you choose a direction, but your recovery behavior still matters.
Signs your tracker is not ready for off-leash use
Some test results mean you should pause off-leash plans until you understand the issue. That does not mean the tracker is useless. It means it is not ready to be treated as your main safety support in that location.
- The tracker shows you on the wrong street or wrong side of a major barrier more than once.
- The app fails to update in the places where your dog is most likely to run.
- Escape or boundary alerts arrive too late for the risk level of the area.
- The tracker rotates, loosens, rubs, or detaches during normal movement.
- The battery drops faster than expected during short tests.
- The phone cannot receive alerts because of notification settings, poor signal, or low battery.
- The map looks acceptable in town but unreliable at the trail, farm, lake, or campground.
If any of these happen, repeat the setup from the beginning. Recheck app permissions, charge level, attachment position, collar fit, and the environment. For travel days, it is worth working through a dedicated routine for calibrating your dog’s GPS tracker before travel, because new locations often change the way a tracker performs.
How different tracker types change the test
Cellular GPS trackers
Many everyday pet GPS trackers depend on cellular coverage to send location updates to your phone. Test them in the exact places you expect to use them, not just where you have strong service at home. If your phone has weak service, your tracker may still behave differently, but weak coverage is a warning sign worth respecting.
Smart collars with built-in tracking
Smart collars need the same map testing as clip-on trackers, but fit deserves extra attention. A collar that is too loose may rotate or make skin contact inconsistent if the device has activity or health-related functions. A collar that is too tight can be uncomfortable. Check movement, rubbing, and coat compression after the test walk.
Handheld or field-style tracking systems
Some systems are designed for rural, hunting, or field use and may use a handheld receiver rather than relying only on a phone app. Your test should include pairing, range behavior in the terrain you use, map familiarity, and whether every handler knows how to read the handheld quickly under stress.
Bluetooth item tags
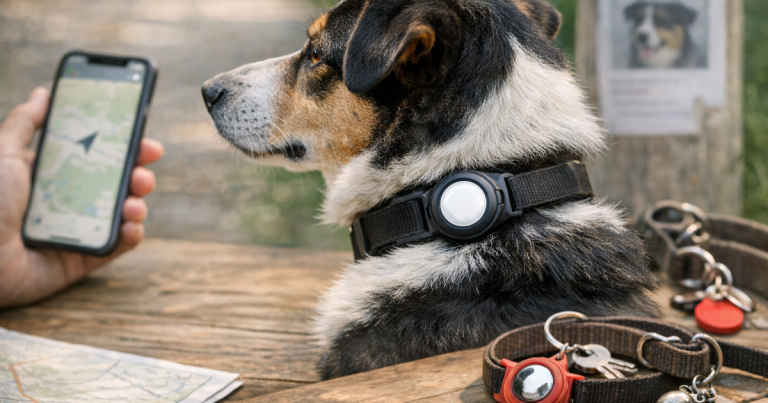
Bluetooth tags are not the same as live GPS dog trackers. They can be useful as a backup identification aid in some situations, but they generally should not be treated as the primary tool for off-leash recovery. Test them for nearby detection and sound alerts, but do not assume they will guide you to a fast-moving dog across open land.
A simple pre-off-leash checklist
Use this quick check before each off-leash session, even after the tracker has passed a full test. It takes less time than recovering a dog who vanished through one bad assumption.
- Tracker charged and powered on.
- Phone charged, volume up, notifications allowed.
- App open and showing the correct dog or device.
- Location pin reasonable before the leash comes off.
- Collar or harness snug, comfortable, and escape-resistant.
- ID tag attached as a non-electronic backup.
- Safe zone, live mode, or tracking mode set as intended.
- Area scanned for roads, gates, wildlife, other dogs, water, and blind corners.
- Leash or long line available if the tracker behaves oddly.
Things readers ask
How often should I test my dog tracker?
Run a full accuracy test when the tracker is new, after major app or device changes, after switching collars, and before travel. Do a quick location and battery check before every off-leash session.
Can I rely on a tracker if my dog has strong recall?
Recall helps, but it does not replace tracking. A frightened, injured, chasing, or overstimulated dog may ignore cues they normally know, so the tracker should be one layer in a broader safety plan.
Why does the tracker look accurate at home but not on trails?
Trails can add tree cover, hills, weak cellular service, ravines, and fewer clear landmarks. That is why the final test should happen in the same type of place where off-leash time will occur.
Is it normal for the map pin to drift while my dog is standing still?
Some drift can happen, especially near buildings, under trees, or when the device is settling. Repeated large jumps across roads, property lines, or barriers should be treated as a warning sign.
Should I test with my dog loose in a fenced dog park?
Only after the tracker has passed controlled tests on leash or with a person carrying it. Even fenced parks can have gates, gaps, distractions, and other dogs that make troubleshooting harder.
What stands out
Rechecking GPS dog tracker accuracy before off-leash time is not about proving a device is flawless. It is about learning its normal behavior while the stakes are low. Once you know how quickly it updates, where it struggles, how alerts arrive, and whether the attachment stays secure, you can make calmer decisions about where your dog gets freedom and where a leash or long line is still the wiser choice.
The safest setup is layered: a tested tracker, secure collar or harness, visible ID, charged phone, practiced recall, and a plan for the first few minutes if your dog disappears from sight. Off-leash time should feel joyful, not careless. A short test routine helps keep it that way.