A dog who slips a harness in a parking lot or bolts after a deer needs more than a sturdy leash; dog hiking safety gear should work as a layered system that prevents the escape, buys you time, and helps you recover your dog if the first layer fails. The safest trail setup combines secure restraint, visible identification, reliable tracking, water, first aid, and a calm plan for what you will do if your dog disappears from sight.
Medical decisions about trail injuries, overheating, medication, or whether a dog is fit for a demanding hike should be handled by a licensed veterinarian to support appropriate treatment and compliance with applicable state veterinary standards and local trail safety requirements.
The short version
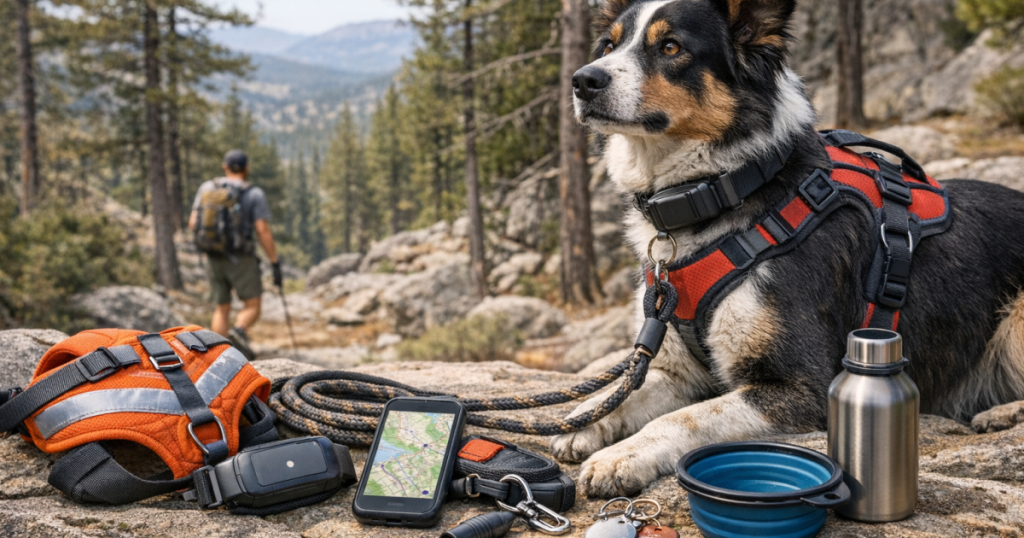
For an escape-prone dog, the best hiking setup is not one magic collar or one tracker. It is a system with redundancy. Use a properly fitted collar or harness, a backup connection point, visible ID, a tracker suited to the terrain, a leash plan that matches your dog’s behavior, and supplies that let you pause safely instead of rushing when something goes wrong.
- Primary control: a secure harness or collar that your dog cannot easily back out of.
- Backup control: a secondary attachment from harness to collar, or a second leash point in higher-risk areas.
- Recovery support: a GPS tracker, plus a readable ID tag with current contact details.
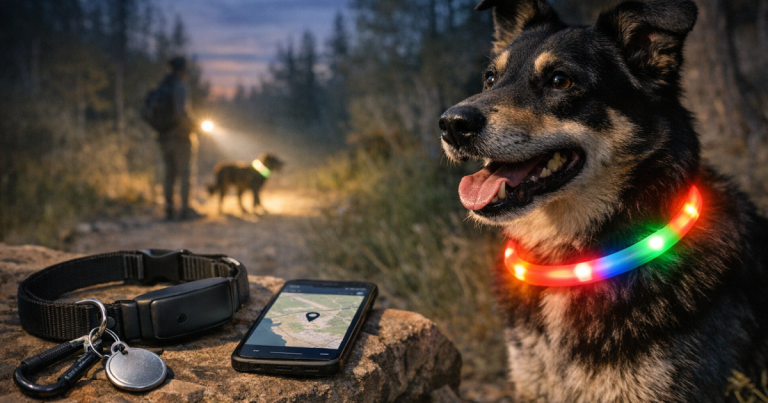
- Visibility: reflective or lighted gear for dusk, fog, trailheads, roads, and campgrounds.
- Trail care: water, a collapsible bowl, paw protection when needed, and a canine first-aid kit.
- No-service planning: offline maps, a charged phone, and expectations that cellular trackers may lose updates in remote areas.
Step 1: Start with escape control, not electronics
Trackers matter, but they are recovery tools, not restraint. If your dog has a history of backing out of gear, lunging at wildlife, door-dashing from the car, or panicking around bikes and horses, begin with fit and handling. A tracker can tell you where a dog may be, but a well-fitted walking setup reduces the chance that the search starts at all.
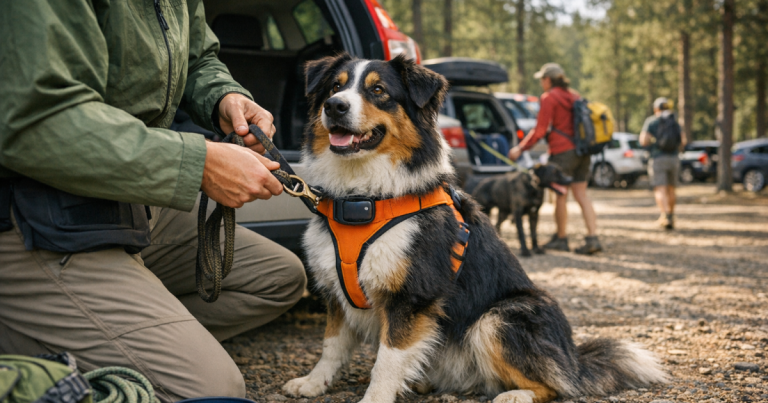
Check the harness or collar before every hike while your dog is standing, not curled in the back seat. Look for loose neck openings, chest straps that slide behind the elbows, buckles that sit where a backpack rubs, and any fit that changes when the dog pulls backward. Narrow-headed dogs, deep-chested breeds, and very flexible dogs often need more careful fit checks than owners expect.
If your dog pulls backward when startled, a front-clip or dual-clip harness may give you better body control than a flat collar alone. For dogs who have slipped out before, compare the fit principles in front-clip harnesses for dogs who pull backward before relying on a single attachment point on a busy trailhead.
Step 2: Add a backup attachment for the moments you do not expect
Most escapes happen during small transitions: opening the tailgate, moving from parking lot to trail, passing another dog, stepping around a downed tree, or taking off a pack. A backup connection is a simple way to make those transitions less fragile.
For high-risk dogs, consider a short safety strap that connects the harness to the collar, or use a leash with two attachment points when conditions are crowded or unfamiliar. The goal is not to tangle your dog in extra hardware. The goal is to avoid a single point of failure when a buckle loosens, a leash clip is not fully closed, or your dog twists out of position.
Practice handling the setup at home before you use it on trail. Clip and unclip in the same order every time. Teach your dog to wait before exiting the car. Reward calm check-ins at trail junctions. Gear works best when the routine around it is predictable.
Step 3: Choose tracking that matches the terrain
A GPS tracker can be one of the most valuable recovery tools for a hiking dog, but no tracker is foolproof. Cellular GPS collars and tags generally need compatible network coverage to send location updates to your phone. Bluetooth tags can help at close range or around other compatible devices, but they are not a substitute for real-time GPS tracking in remote woods. Handheld tracking systems can be useful for rural and hunting-style scenarios, but they require their own setup and handling routine.
Before a trip, fully charge the tracker, confirm the account is active if the device requires service, test location updates near your home, and make sure the tracker sits where it can maintain a reasonable signal. If you are driving several hours, crossing state lines, or staying near a campground, run through the steps to calibrate your dog’s GPS tracker before travel so the device is not getting its first serious test when your dog is already missing.
For small dogs, pay close attention to comfort and weight distribution. A tracker that works fine on a large, athletic dog may bounce, rotate, or rub on a smaller neck. For large dogs, check that the collar or mount does not loosen as the dog pants, swims, shakes off, or pulls uphill.
Step 4: Plan for no-service hikes before you lose service
Many US hiking areas have patchy cellular coverage even when the trailhead looks busy. Canyons, ridgelines, dense timber, and rural back roads can interrupt live updates. This does not make tracking useless, but it does change the way you should plan.
Download offline maps before leaving home. Share your route with someone who is not on the hike. Carry a power bank if your phone is your main way to view tracking data. Save campsite, trailhead, and ranger station information in a place you can access without service. If you hike in areas where cell coverage routinely disappears, review how to prepare your dog tracker for no-service hikes before choosing your route.
Also decide what you will do if the tracker stops updating. A calm plan might include returning to the last confirmed location, asking one person to stay at the trailhead, leaving a familiar blanket or crate at camp when appropriate, and avoiding loud, frantic chasing if your dog is frightened.
Step 5: Make your dog visible from every angle
Visibility gear is not only for night walks. It helps in shaded forests, early starts, fog, rainy parking lots, roadside trailheads, hunting-season areas, and campgrounds where headlights and bicycles appear quickly. A dog who is easy to see is easier to hold, recall, redirect, and describe to other hikers.
Reflective vests, bright bandanas, lighted collars, and clip-on safety lights each solve a slightly different problem. Reflective fabric helps when light hits it. LED gear helps when there is little light to reflect. Bright colors can make a brown, black, or gray dog stand out against leaves and brush during the day.
For road-adjacent routes or evening trail exits, the same visibility principles used in reflective dog vests for night walks near traffic apply on hikes: cover the dog’s body where drivers, cyclists, and other trail users can actually see it, not just a tiny tag under the chin.
A lighted necklace such as the Nite Ize NiteHowl Rechargeable LED Safety Necklace can be useful around camp or during dusk walks, while a reflective vest or harness adds broader body visibility. Do not rely on light alone if your dog has thick fur that can hide the glow from certain angles.
Step 6: Use leash length as a safety decision
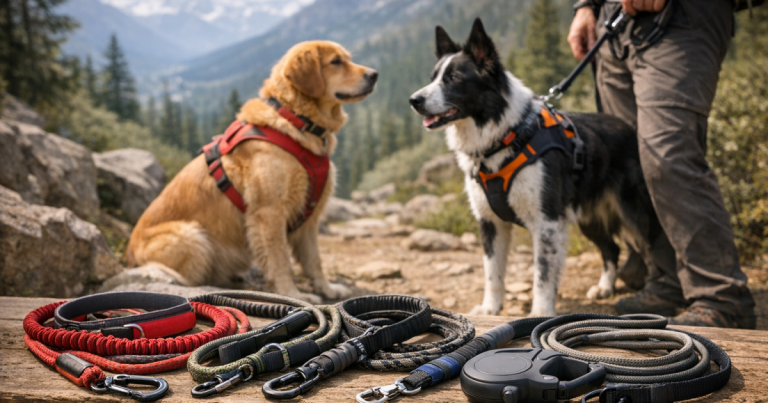
Escape-prone dogs often need more structure than the average off-leash trail dog, even where off-leash access is allowed. A standard leash gives close control at trailheads, water crossings, cliffs, and crowded overlooks. A long line can offer room to sniff and explore in open areas while still keeping a physical connection.
A long line is not the same as off-leash freedom. It needs space, attention, and good handling. Avoid using one near mountain bikers, horses, steep drop-offs, fast water, or dense brush where it can snag. In safer open areas, a training line such as the Ruffwear Rogue Long Line can support recall practice while preserving a backup connection.
Whatever leash you use, check clips for grit after sandy or muddy hikes. A leash clip that does not spring closed cleanly is a small failure point that matters a lot when your dog lunges unexpectedly.
Step 7: Pack water, first aid, and pause-friendly supplies
Many trail mistakes happen when an owner is trying to hurry back because the dog is hot, thirsty, sore, or overstimulated. Escape-prone dogs benefit from supplies that let you stop, reset, and make slower decisions.
Carry water for your dog, not just for yourself. A portable bottle-and-bowl setup such as the Kurgo Gourd Water Bottle and Bowl is one example of the kind of gear that keeps hydration simple during short breaks. On hot days, choose shaded routes, watch for heavy panting and slowing down, and turn around earlier than pride wants you to.
A canine first-aid kit should cover small trail problems like minor cuts, ticks, and torn nails, while reminding you that serious injuries need veterinary care. The Adventure Medical Kits Adventure Dog Medical Kit – Trail Dog is a recognizable trail-oriented example, but the important point is knowing what is inside your kit and how to use the basics calmly.
Step 8: Run a parking-lot safety routine
The most dangerous part of many hikes is not the summit; it is the first two minutes after the car door opens. Build a repeatable routine so your dog is never loose during the transition.
- Clip the leash on before opening the crate, tailgate, or door fully.
- Check that the tracker is attached, powered, and updating before you leave the vehicle.
- Confirm the ID tag is readable and not hidden under bulky gear.
- Use the shortest practical leash length until you are away from traffic and other dogs.
- Pause at the trailhead and reward calm attention before moving out.
Repeat the same routine when you return tired. Many dogs escape at the end of a hike when everyone is relaxed, muddy, and distracted.
Questions people ask
Should an escape-prone dog hike off leash?
Usually, no. A dog with a known escape history should stay physically connected unless you are in a securely fenced, legal, and low-risk area. Recall training helps, but it does not replace restraint around wildlife, roads, cliffs, or unfamiliar dogs.
Is a GPS tracker enough for hiking safety?
No. A tracker supports recovery, but it does not stop a dog from bolting, entering traffic, falling, or getting tangled. Use it alongside secure fit, leash control, ID tags, visibility gear, and a route plan.
What should be on my dog’s ID tag for a hike?
Use a current phone number that will be answered during the trip. If you are traveling, consider adding a temporary tag with your campsite, rental area, or a second emergency contact.
How much water should I bring for my dog?
Needs vary by size, heat, elevation, pace, and coat type. Bring more than you expect to use, offer small breaks often, and turn around early if your dog is slowing, seeking shade, or panting heavily.
What is the first thing to do if my dog slips away on trail?
Stop, mark the last known location, check the tracker if you have one, and avoid chasing a frightened dog deeper into the woods. Call calmly, alert nearby hikers, and keep someone near the trailhead or vehicle when possible.
What to remember
The best setup for an escape-prone hiking dog is layered and boring in the best possible way: secure restraint, backup attachment, visible ID, tracking, hydration, first aid, and a routine you can repeat under stress. No collar, harness, tracker, or light can guarantee recovery, but the right system reduces weak points before the hike starts.
When choosing dog hiking safety gear for your own dog, think in scenarios rather than gadgets. What happens when a deer crosses the trail? What happens when service drops? What happens when the parking lot is full? If your gear and routine answer those moments clearly, you are much better prepared for a safe day outside together.